

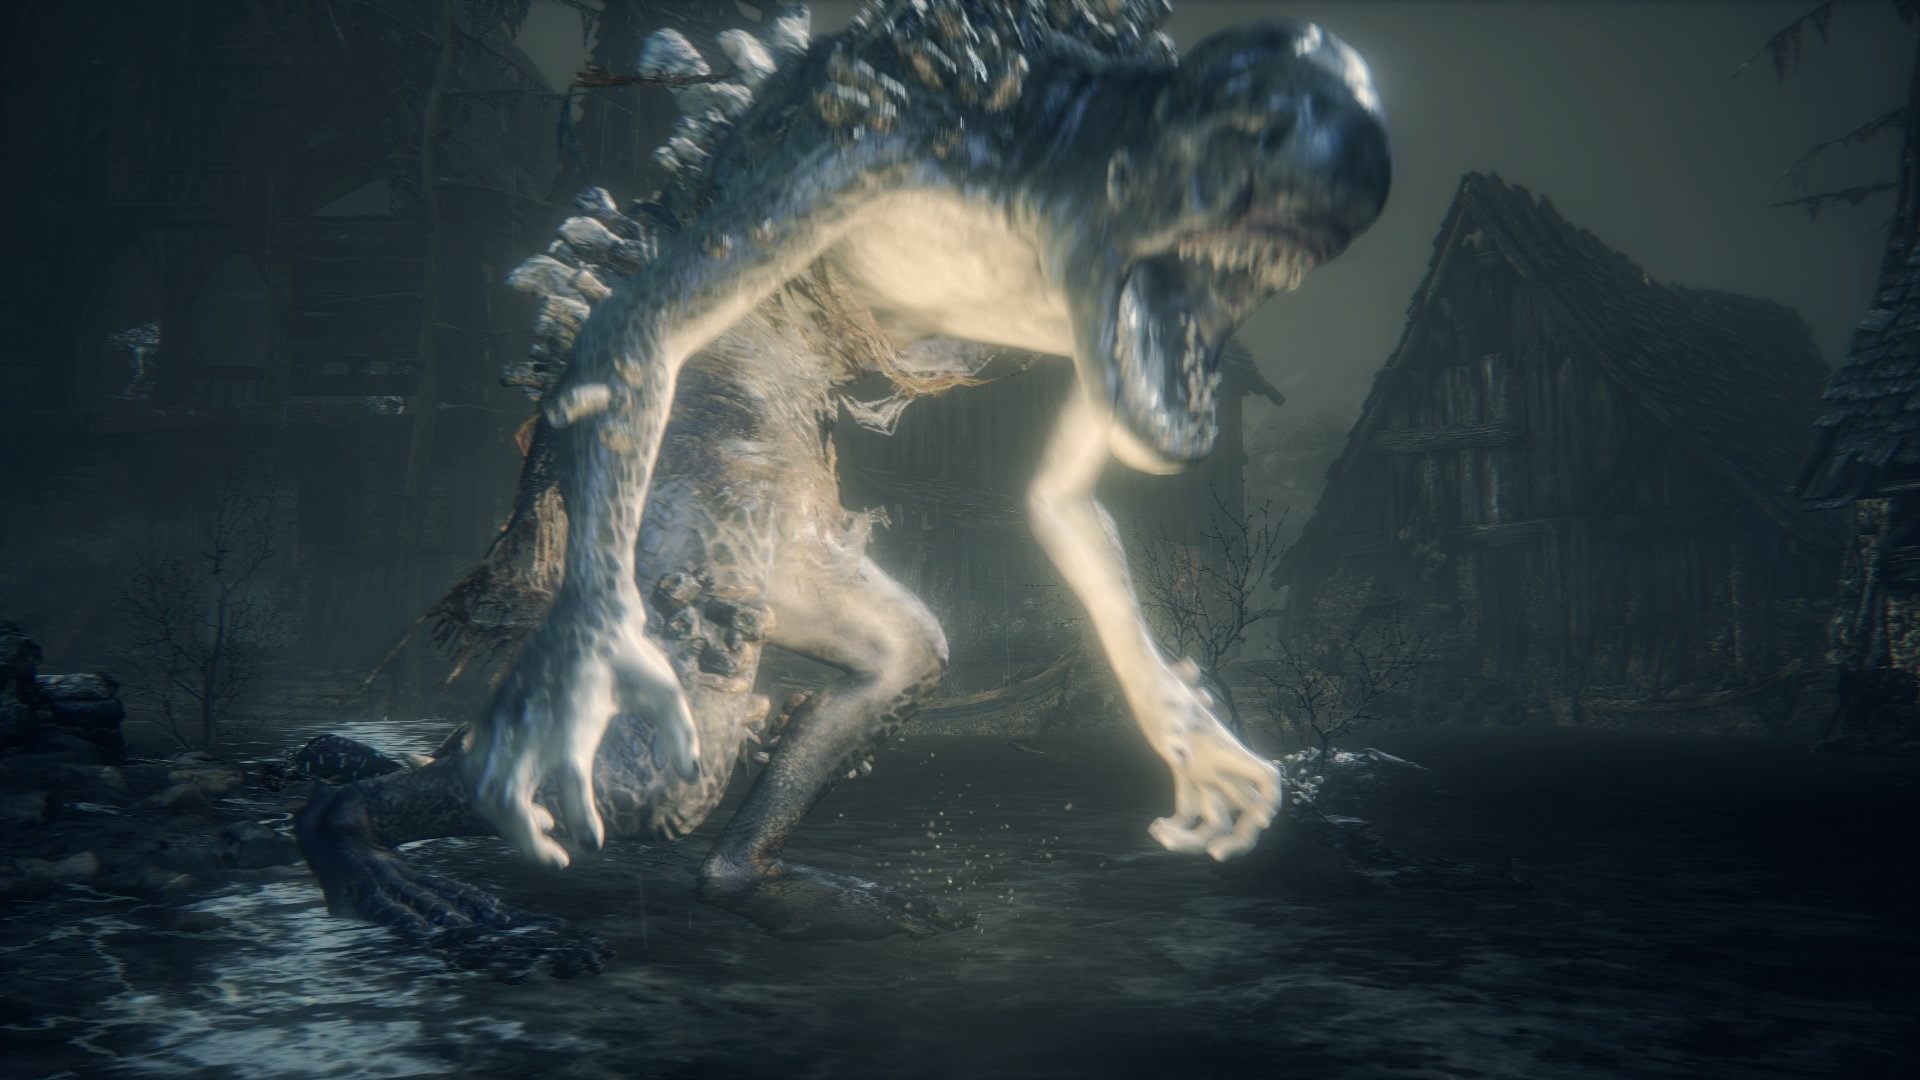
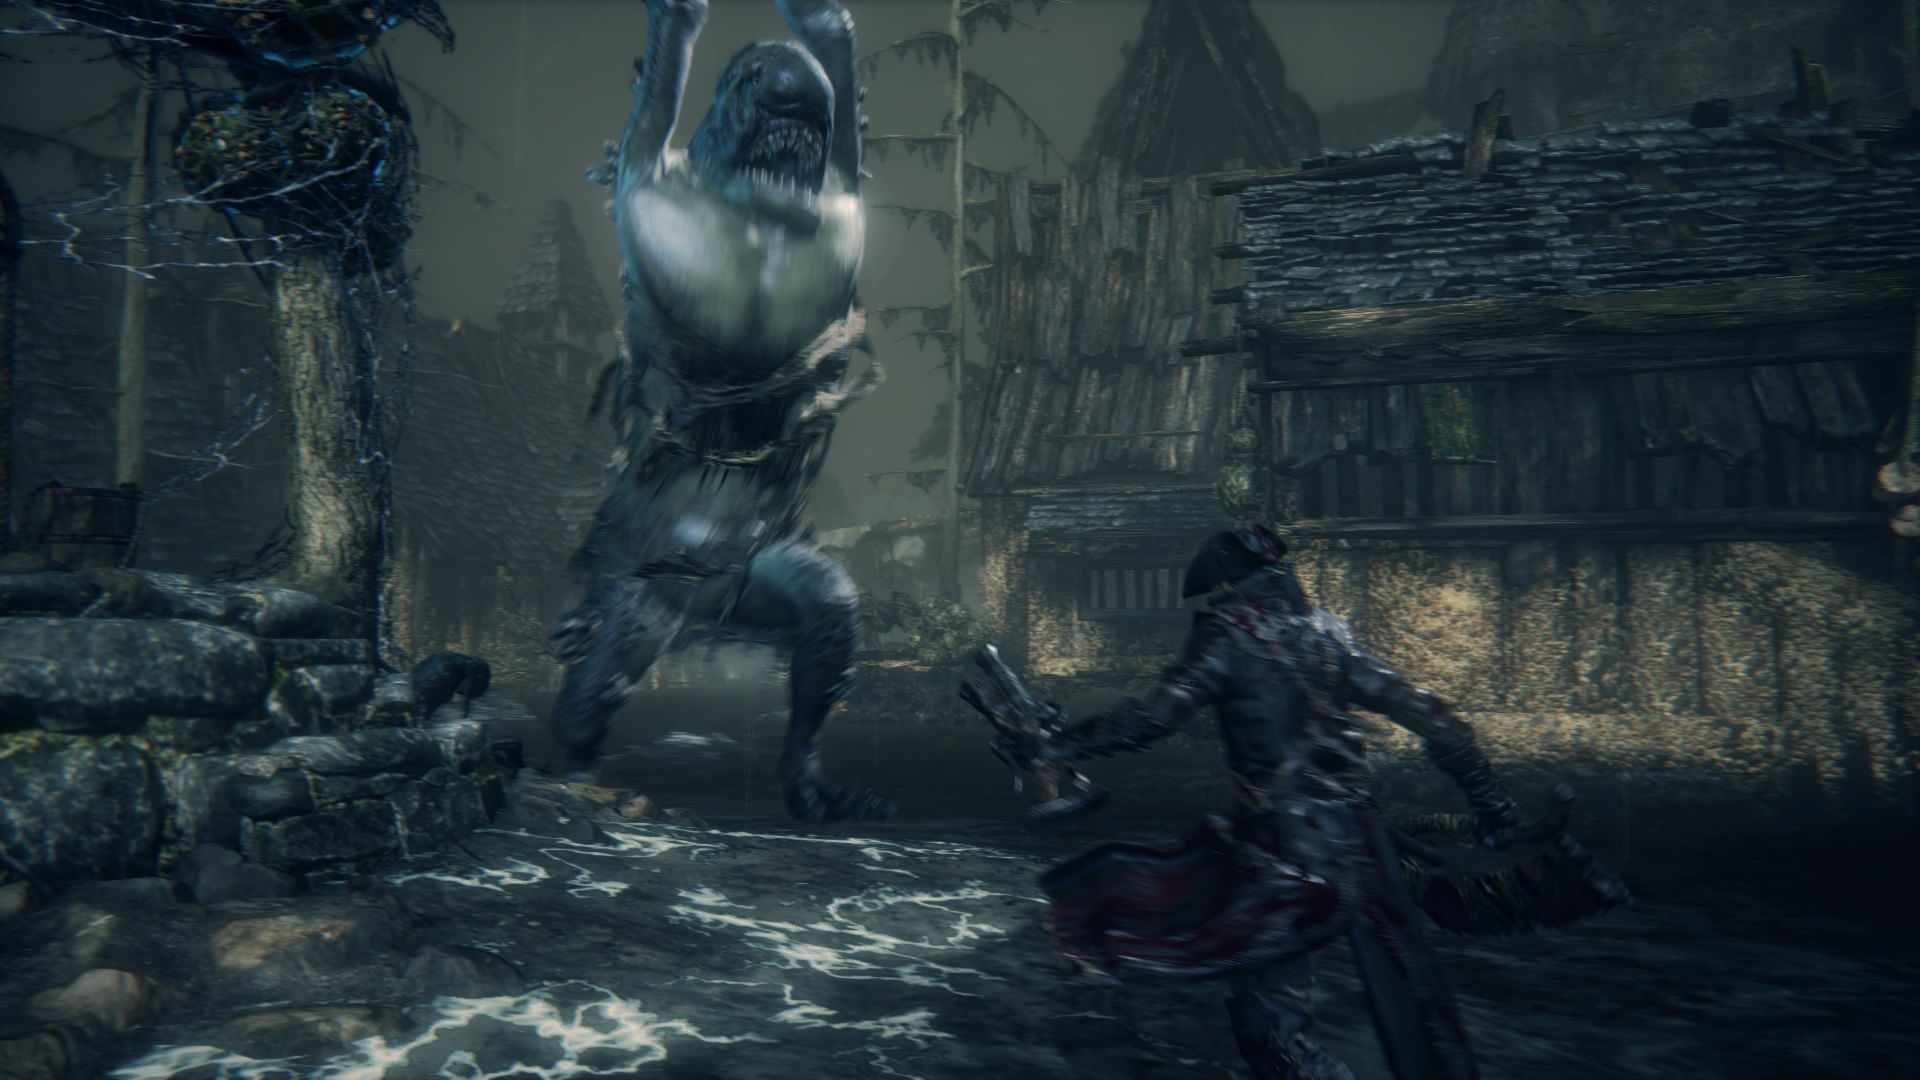
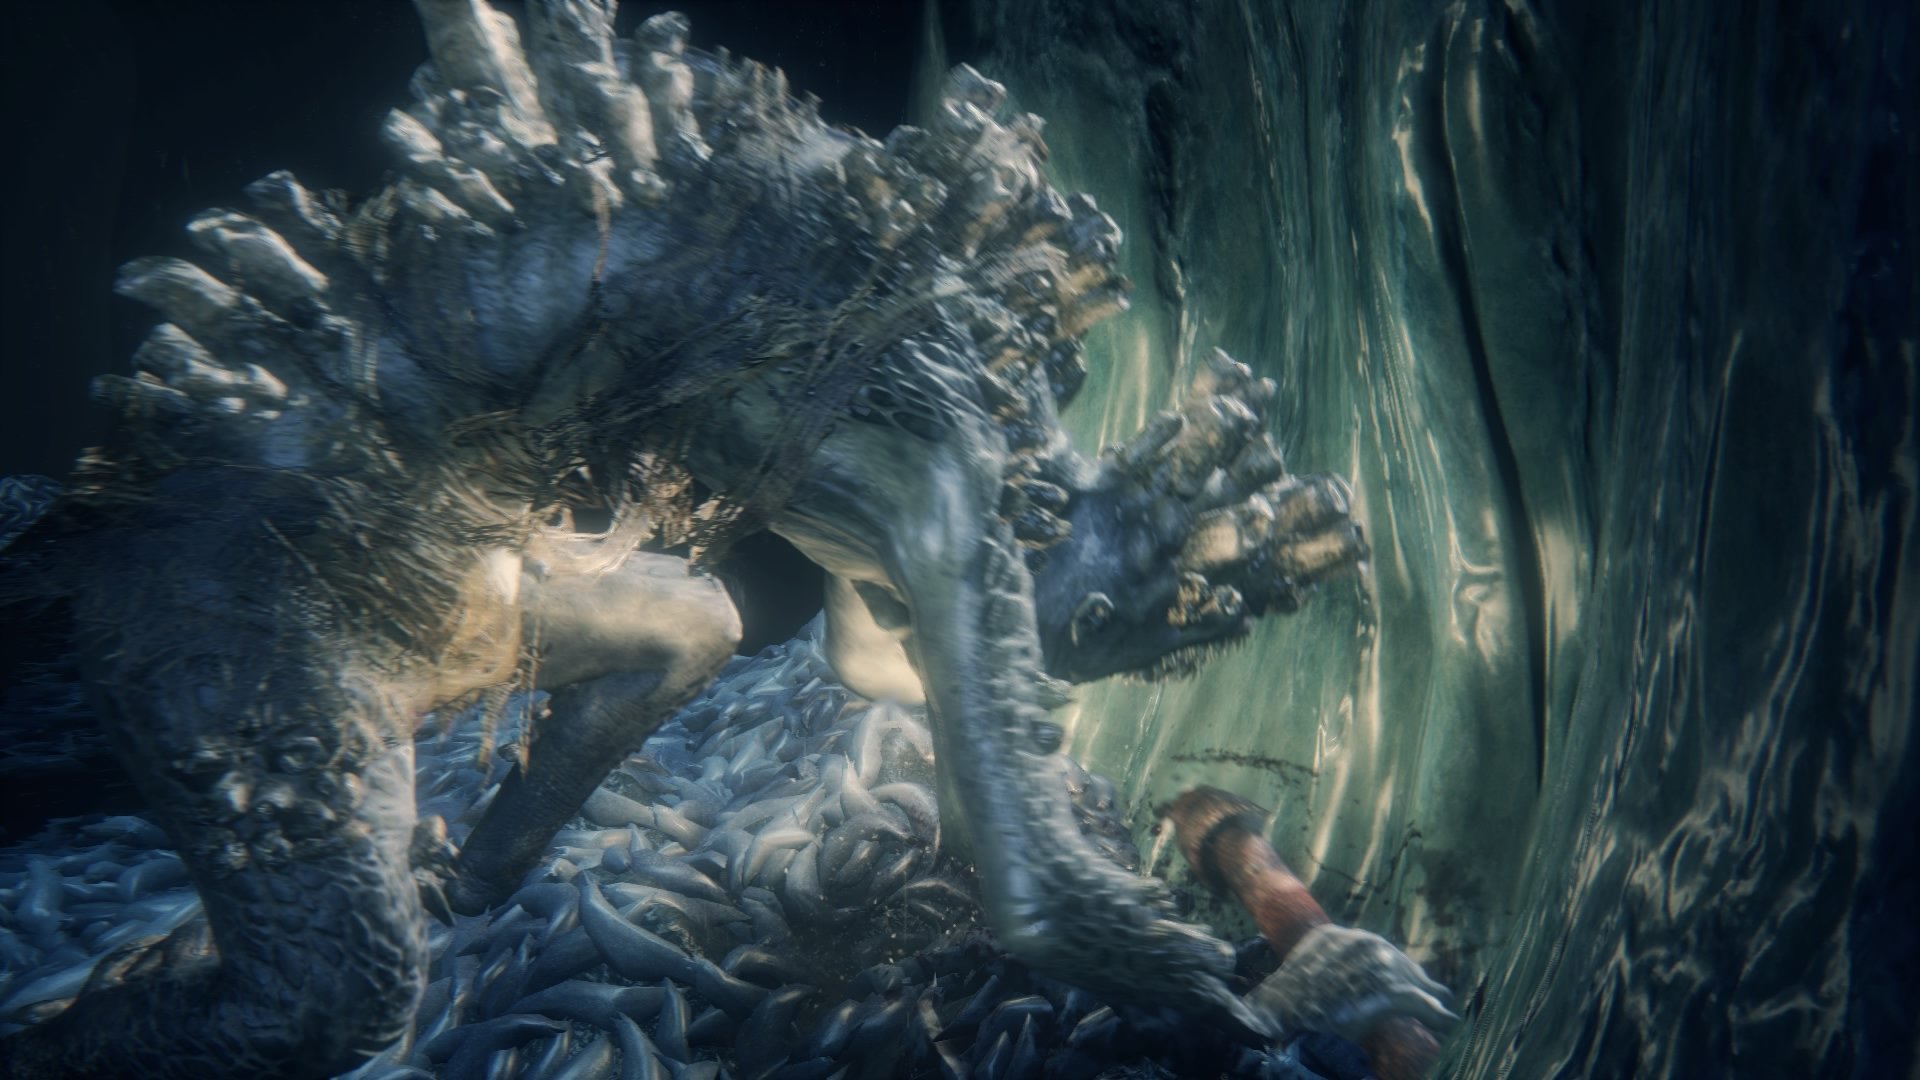
Shark Giant is an enemy in The Old Hunters DLC in Bloodborne.
Shark Giants in Bloodborne
There are a total of 4 variations of this enemy, each a single individual fixed to a location.
- Basic unarmed Shark Giant: Found near the well in Fishing Hamlet, this is the weakest Shark Giant. There are several glowing urns by the wall he is waiting behind. Shooting these when he emerges will kill him instantly.
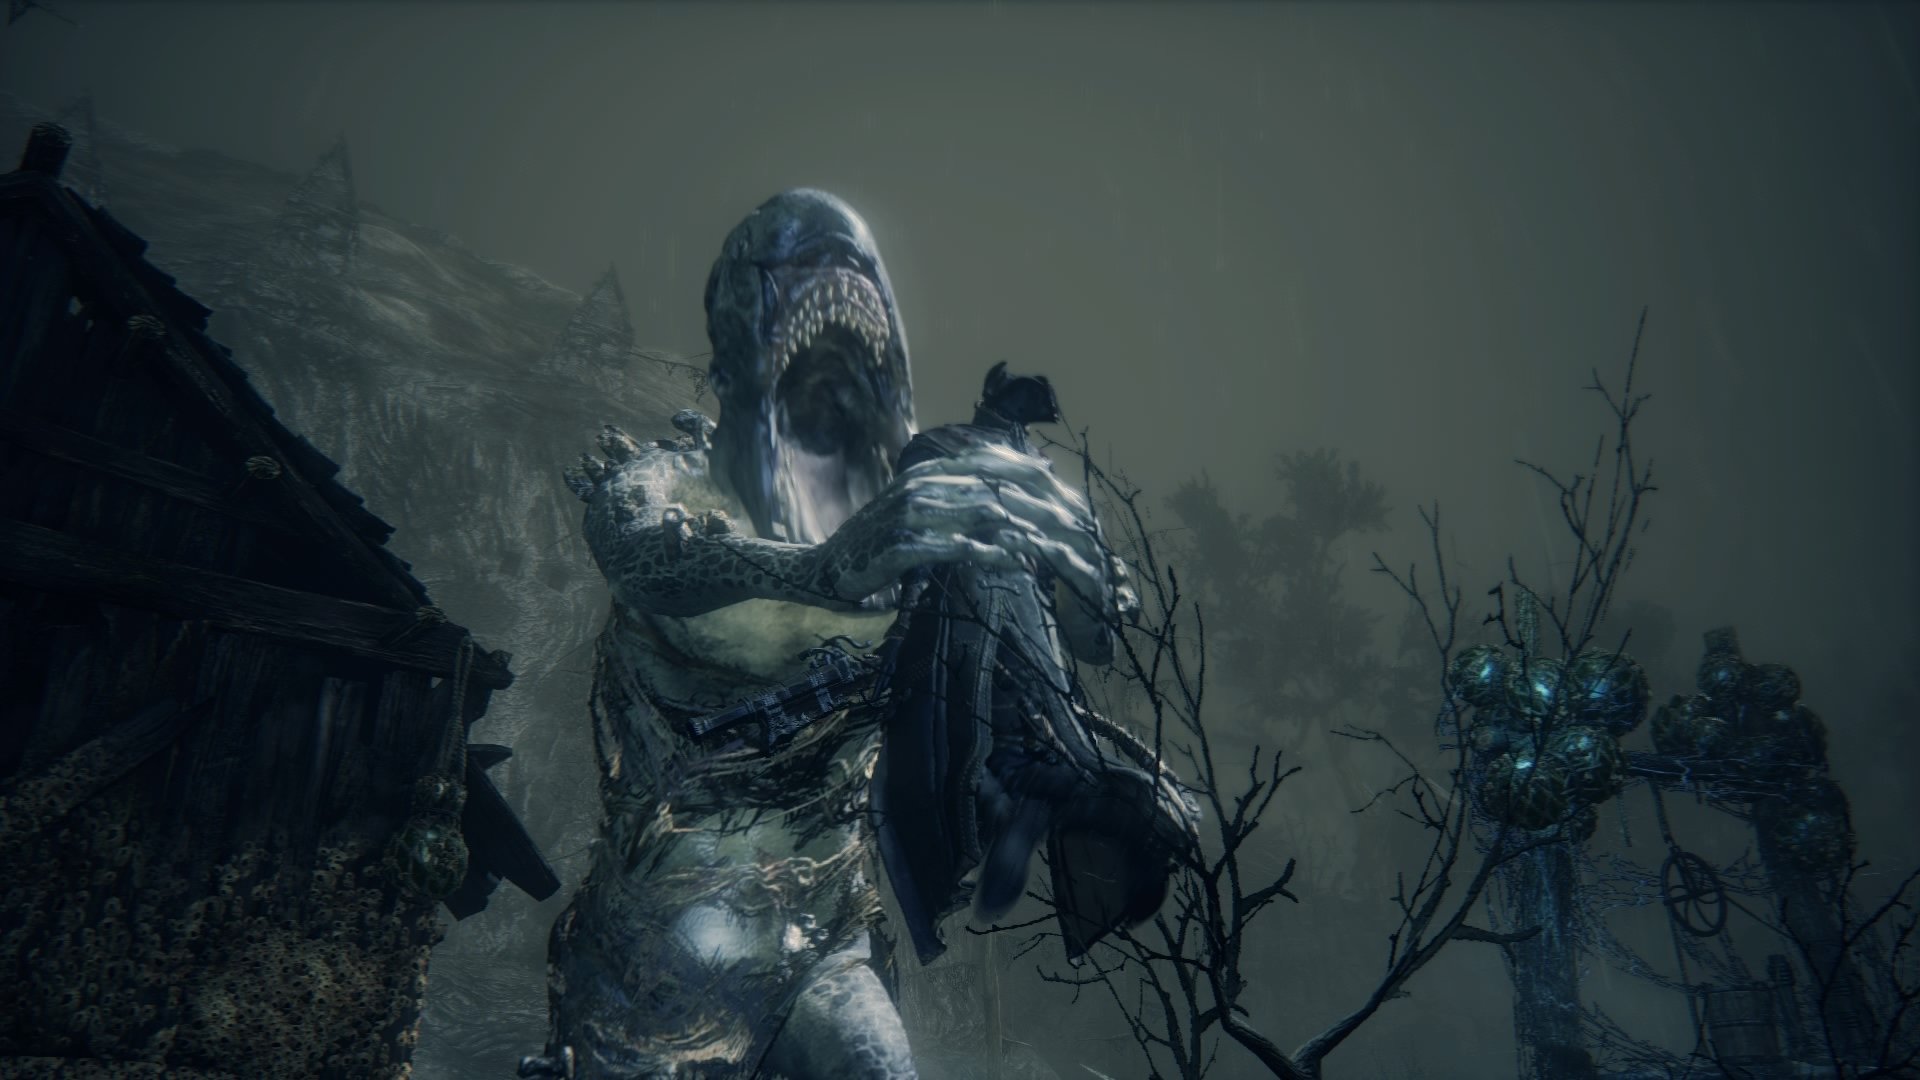
- Basic armed Shark Giant: Found near the Lighthouse Hut lamp, stronger and with better range. The best way to deal with this one early on is to run past him and light the lamp. If he doesn't follow you, he may become available for a back-stab.
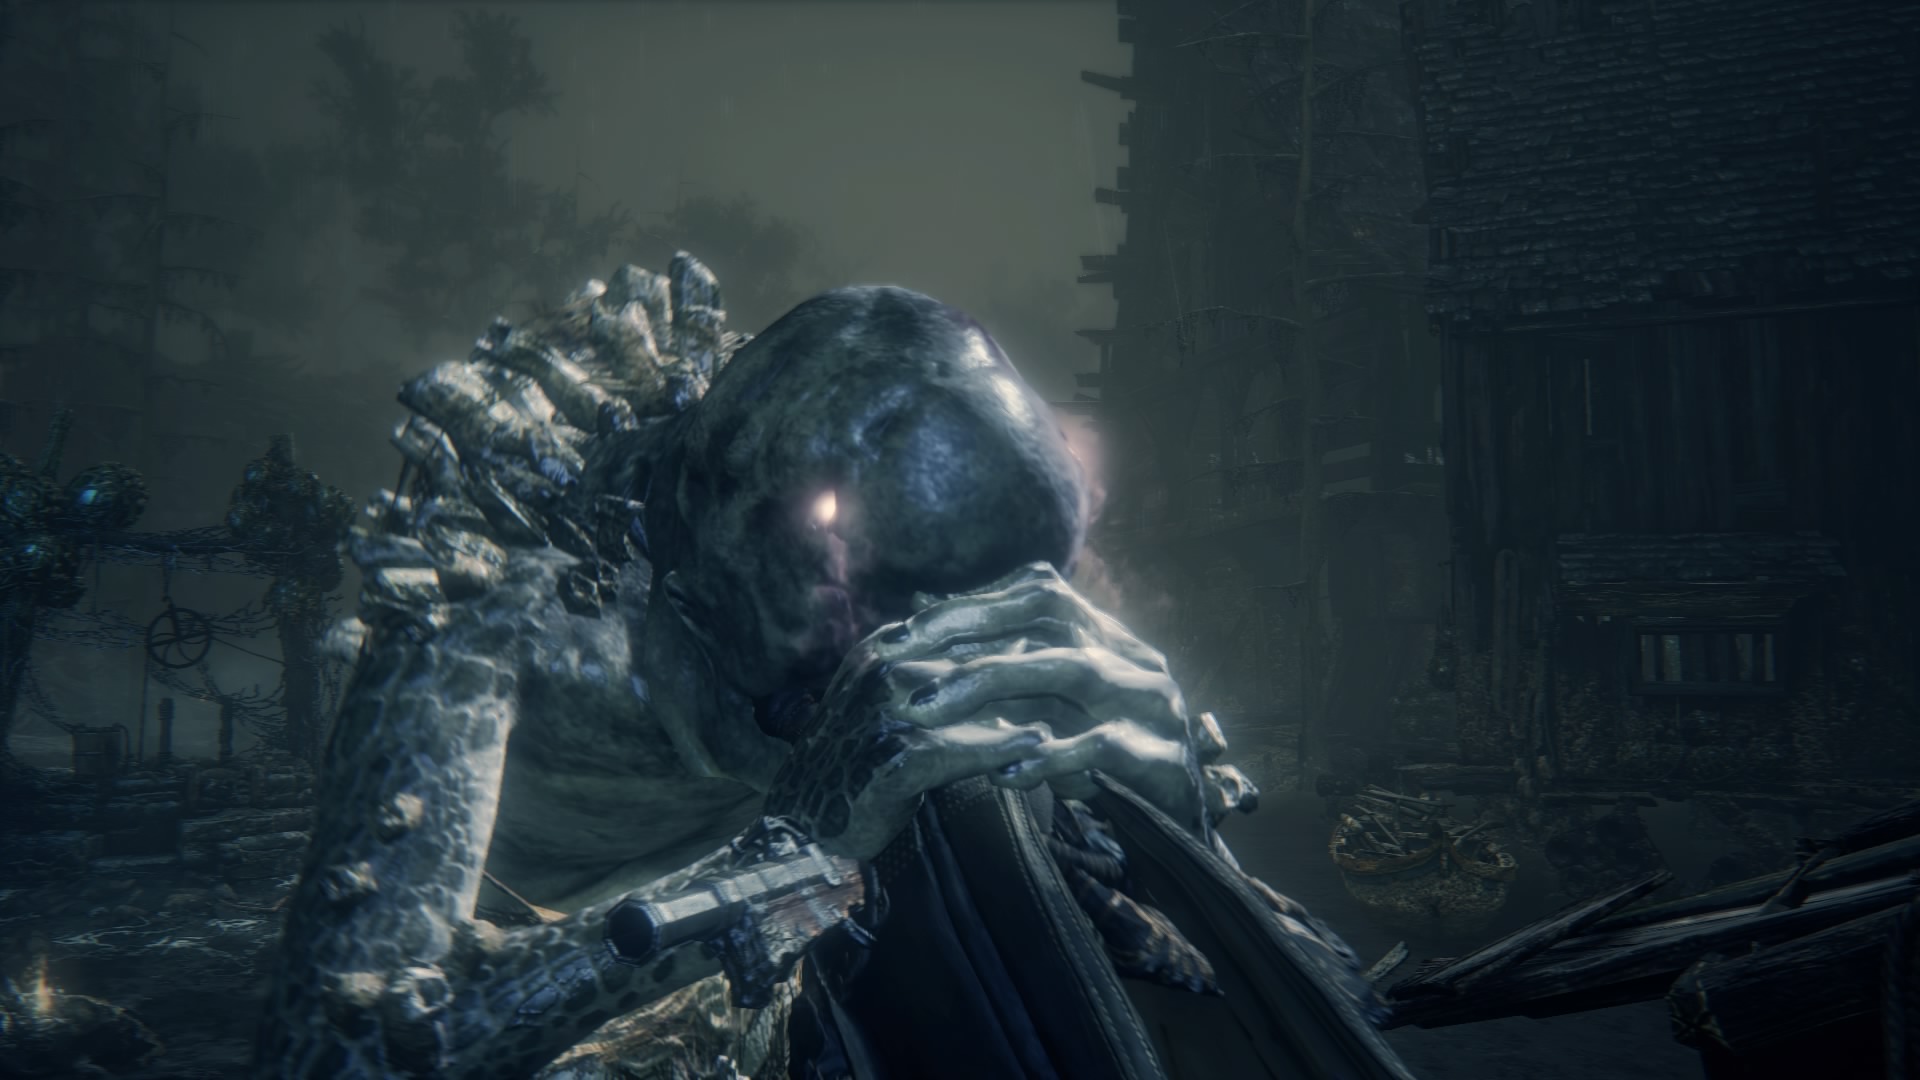
- Elite armed Shark Giant: Found inside the well, extremely dangerous and has coral/barnacles on his head. A good way to kill these enemies is to counter them then move in for a visceral attack. It should take about 6 visceral attacks to kill this one. Moving in for regular attacks is not recommended, as it has several quick attacks that deal heavy damage, have huge range, and can cause you to panic and lead to an untimely death. The monster has some really awkward timing for his attacks, so the only way to get counter him is to learn the timing and don't shoot too early.
- Elite unarmed Shark Giant: Found inside the well, has less range and about half the health of the other Shark Giant in the well. He also has coral/barnacles on his head. This Shark Giant drops the Rakuyo. Initially, he hangs from the cavern's ceiling; you can lock him on, but he is immune to projectiles and won't fall. He drops down when the other one loses about half his health. The best way to deal with both of the enemies is to hit one with a Shaman Bone Blade and let them kill each other. However, to successfully hit one of the Giants with a Shaman Bone Blade, you'll have to time your strike well, as its range is really short and it takes a long time to charge up.
Strategy
- All Shark Giants are capable of a deadly, four legged charge attack, followed by additional swipes. Dodge sideways not backwards.
- For the armed Shark Giants, always stay at medium range. Some of their attacks are near impossible to avoid when you're close to them.
- The armed Shark Giants posses great range and aggression, their moves also have awkward timing. You'll need to study their moveset carefully before you can efficiently take them down.
- Their health pool and damage output makes them extremely dangerous. Retreating or running past them may be your best option, unless you are trying to get the Rakuyo.
- A more risky, but much quicker option is to bait a regular attack and kite around them, then backstabbing them. Weapons with quick charge up times are recommend, as the window for attack is short. The Boom Hammer is the most optimal for this if investing in a STR/ARC build, as it has a quick and devastating charge attack, and since fish men are generally weak to Fire, it would make dispatching it a more expedient process.
- High ARC builds can take advantage of both the long range and the high scaling damage of tools to keep their distance while putting pressure on the enemy. A Call From Beyond and the Executioner's Gloves are particularly effective, as the Shark Giants are big enough to be pelted by all the projectiles with relative ease. The Holy Moonlight Sword ranged attacks work quite well for killing them at a distance with minimum quicksilver bullet cost.
- Accursed Brew is also good if you plan on using the splash damage to whittle its HP down as it erratically moves around, or if its surrounded by other enemies. For the two Shark Giants in the well, if you didn't manage to kill the one before the other dropped, using this when both are huddled together will severely cut their health, if not outright kill the weaker one.
- Never fight one of these things without clearing the field beforehand, as handling other enemies while fighting with a Shark Giant just increases the chance of you getting distracted and ganged up on.
- For the two giants in the well, keep in mind that the one on the ceiling drops only when the other one's health is at 50%. Get it down to just about half health, then lure it to the opposite side of the loop from where the other one is and time a visceral attack. By the time the other one drops in, you should be able to dispatch the first one before having to engage the second.
- Shaman Bone Blades are excellent ways to get these guys to kill themselves, and by knifing them more than once and leading them to other groups of enemies, you can have them throw themselves on it to weaken it while clearing them out at the same time.
- For bloodtinge builds your best bet for dealing with these enemies is to use the Simon's Bowblade or a gun charged with ash. Play it safe and keep away from them as you shoot them to death.
- The Gatling Gun and any of the cannons would also tremendously help against them, and even more so on a bloodtinge build.
- If you're co-oping the area, then have your partner either distract or divide the attention of them while you use hit and run tactics to keep it from doing its worst, or gang up on it to finish it off quickly.
- An easy way to defeat the two Shark Giants in the well is to go there via the tunnels. From the Lighthouse Hut lamp go into the tunnels, kill two Brain Trusts and stand at the balcony, right near the edge. You should be able to aggro the Shark Giant with a Throwing Knife, provided you aim it properly with a Monocular. This strategy is safer if you have a long weapon like the Threaded Cane.
Drops
| Fishing Hamlet |

|

|

|
|
|---|---|---|---|---|
| Near the Well | HP | Echoes | 6 Blood Vials 100% | N/A |
| Near the Lighthouse Hut lamp | HP | Echoes | 6 Blood Vials 50% | % |
Notes & Trivia
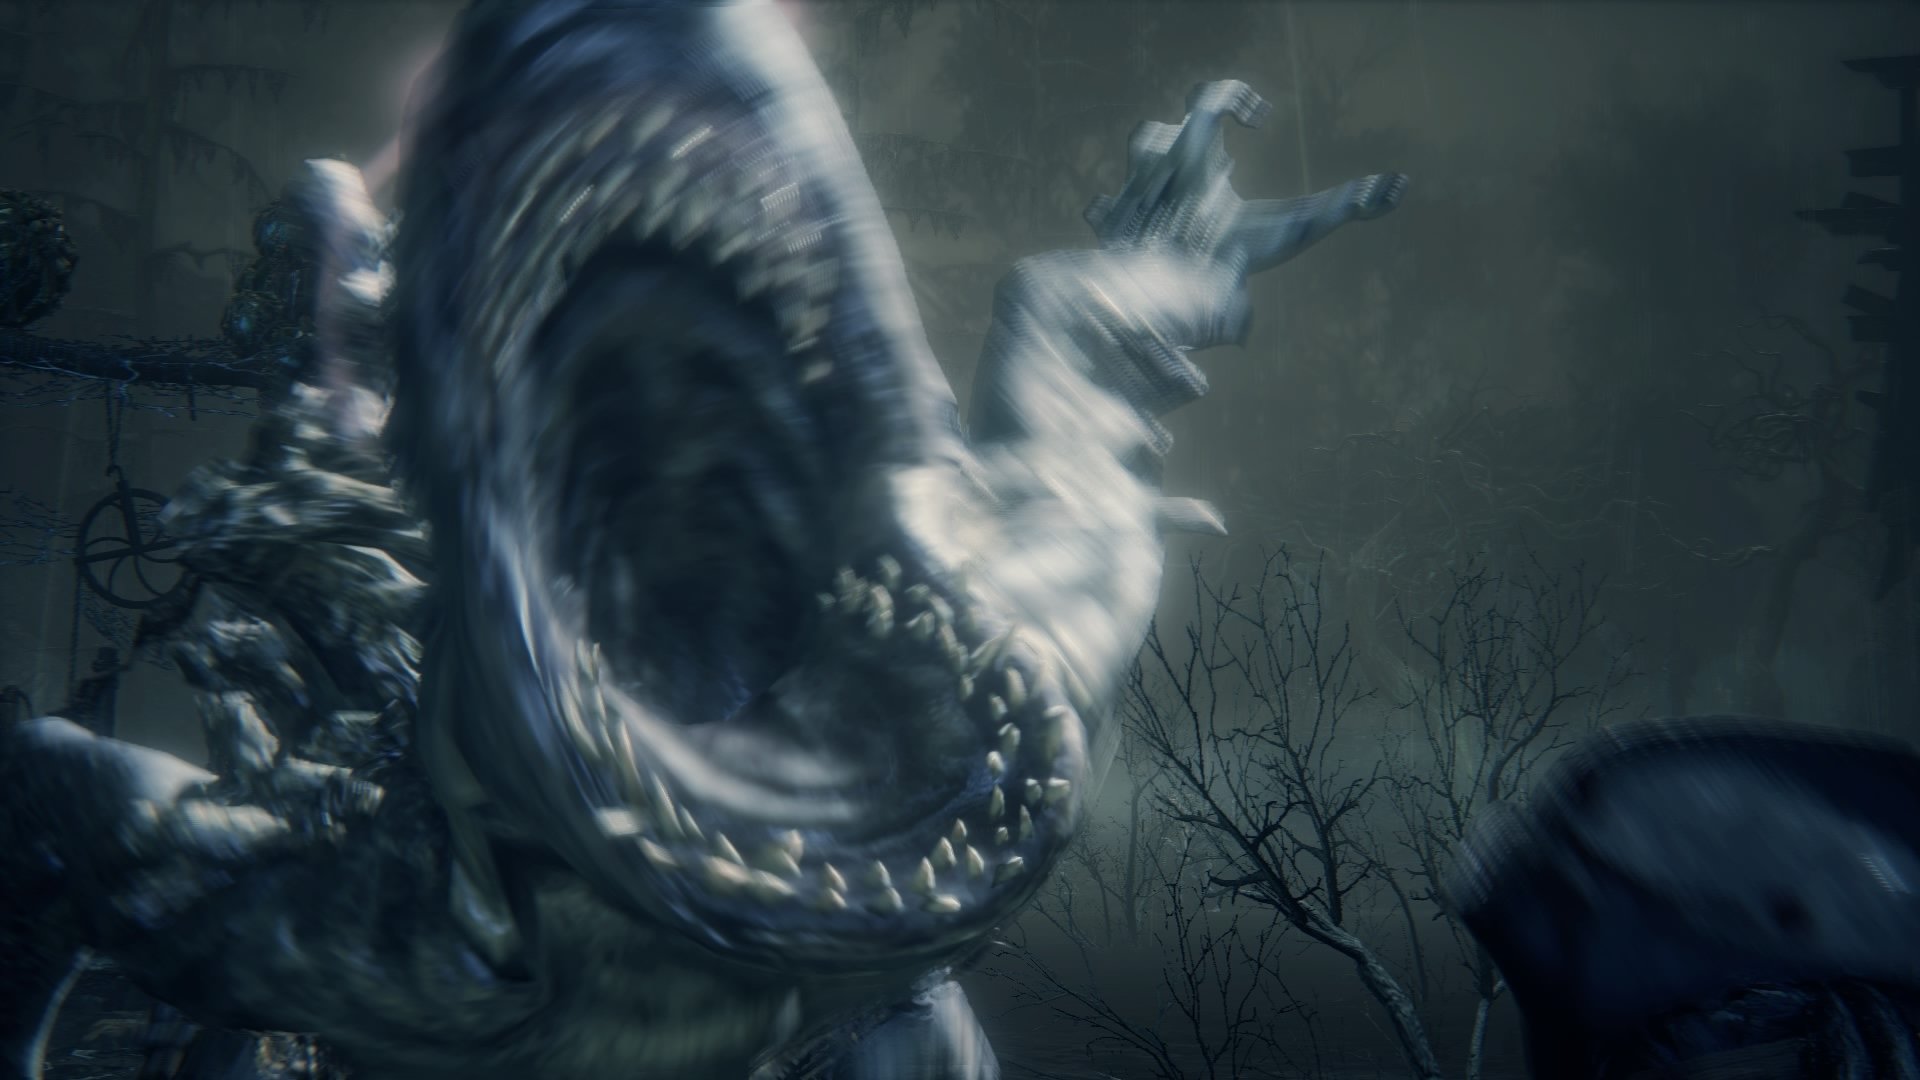
- Shark giants have a grab attack that looks similar to Mimics from the Souls series, Note that the grab attack will most likely kill you due to how much damage they can rack up before grabbing you
- The glowing urns in the area appear to kill all enemies who get damaged by them, regardless of health. Using this to your advantage can make short work of the giants.
- Shark-Giants have red human blood and slimy green blood.
Gallery


 Anonymous
- Anonymous
„ Shark-Giants have red human blood and slimy green blood.“
> ???
- Anonymous
- Anonymous
if you're having trouble, try the trial of one. it'll help you get settled in with all the core combat mechanics, and teach you how to deal with some particularly dangerous foes movesets.
- Anonymous
dont forget to dodge whenever they kick and get ready to parry their claw swipes
- Anonymous
The whriligig saw's (hope im spelling it right) L2 attack can stun lock the anchor giant and kill him before the other guy shows up.
So if you're not carrying any SBB i suggest bring the first one to about half health , Then hold L2 and he's done for.
Although it depends on your stamina and saw level but i could pull it off with 2 fully executed L2s.
It work wonders just try it
Also good for killing the lamp hut giant
- Anonymous
hmmmmmmm did this game copy deepwoken?? ah yes a steam game copied a roblox game.
fr tho love both designs dont care deepwoken copied but the real "sharko" looks cool
- Anonymous
here’s how i beat them:
1-spam your pistol at the first guy and get viscerals until he’s half health
2-the second dude will come down so throw a shaman bone blade and let them fight until one is dead
3-spam the remaining guy with ur pistol and get viscerals again
- Anonymous
Save yourself the trouble and use a Shaman Bone Blade on one of them in the cave.
- Anonymous
- Anonymous
- Anonymous
My first point is that i do like them. Their stat are too high and the charge attack is dumb but other than that i like them. Additionally, who wrote give up on the strategy part?
- Anonymous
- Anonymous
I hate these guys with a burning passion but something about watching two sharks beat each other up with the Bone Shaman Blade is funny. They give it 110%
- Anonymous
Jesus! The other day I was co-oping. And I saw one of these things grab the host, before devouring him. What gruesome way to to kill the player, FromSoft.
- Anonymous
Nothing could be more hectic and annoying than Laurence, right?… right?
- Anonymous
OMG guys it's Gawr Gura, instead of streaming she's in a well with her friend Bloop!
- Anonymous
I hardly felt any rage while playing this game, but those two sharks guarding the rakuyo made me want to rip my hair out and kms.
- Anonymous
I don't think these guys would get nearly as much hate if it wasn't for the duo fight. On their own sure they're brutal but it's the last DLC area in a fromsoft game after all. Still a fair fight if you can get the 1v1.
- Anonymous
I had less trouble with the Rakuyo duo than the one later on, on the run to the second lamp. For the duo, I had nuked the first one with viscerals by the time the 2nd one got over to attack.
- Anonymous
Oh fun, another enemy that uses spastic flailing attacks with stupidly good tracking...
Ooh, AND one-shot grabs?
Great, now we just need a few roll-catching combos to get the terrible enemy hat trick.
- Anonymous
[reads wiki AFTER bowblading them to death for 20 min] god i wish i had thought of using shaman bone
- Anonymous
- Anonymous
I wish we got another chalice dungeon with the DLC, I enjoy fighting these things, but once you get the Rakuyo there's no point in giving them the time of day
- Anonymous
Two things:
One; If you visceral them and their health bar depletes entirely, THEY ARE NOT DEAD. They can survive a visceral attack.
Two;Game make up your damn mind
Can I parry them? Or can I NOT parry them? Cause I’m shooting them when they attack right before their attack frames actually come out, half the time I parry, half the time I Don’t
- Anonymous
- Anonymous
OH MY GOD GUYYS I GOT THE RAKYO IL LITERALLY SHAKINGGGG BROOO I WAS SO CLOSE TO DYING I LOVE MY LIFE
- Anonymous
- Anonymous
- Anonymous
- Anonymous
How to make an already shitty dlc even worse. Add these things
- Anonymous
Probably the hardest enemy in the game on ng++ lol (the ones in the well)
- Anonymous
- Anonymous
- Anonymous
- Anonymous
I thought this was impossible. Really. Then I just spammed the blunderbuss and visceral attacked them to death. Only took a few moments!
- Anonymous
I got the achievment. Never bothering with those well bastards again.
- Anonymous
- Anonymous
- Anonymous
Slashed it a few times with the stake driver until hes bro came down to help then just threw molotovs and cannon balls at them ez
- Anonymous
Everyone complains about Ludwig and Kos, those two were fun, these things on the other hand are bull sh-
- Anonymous
A double charged R2 combo from the HMS will stun lock these guys.
- Anonymous
Actually one of the only few enemies that I actually feel like they are supposed to be skipped. Like some other people already commented, it's just not an enjoyable enemy to fight.
- Anonymous
Just noticed they do the same crawl attack as the Crawlers in Nightmare Frontier
- Anonymous
- Anonymous
- Anonymous
I just barely took down the rakuyo fishmen first try without bone blades using the augur of ebrietas, i would recommend it if you're good at dodging
- Anonymous
they were very scary, i almost cry when i was running away from it, would not recommend fighting, unless u want that funny sword
- Anonymous
I'm less interested in their difficulty than how much I'm interested in their design. These ones are probably my favourite enemy just for the reason that they are actually scary. Imagine seeing this thing throwing yourself at you. Plus the fact that it actually eats you whole if their grab attack kills you it's brutal
- Anonymous
Charging "slide attack" is very easy to parry. Bait giant to do the move by staying out of range.
At 50% health stab anchor giant with shaman bone and then watch him kill his friend. Quite thrilling.
- Anonymous
You thought the frozen reindeers in ds2 were bad? Try these mfs.
- Anonymous
I can no-hit these guys Just parry their slashes hit them 2 times then perfect dodge their kick hit them 3 times Dont run away as they will use the thousand needles move
- Anonymous
- Anonymous
Ok theres a good strat to beat it without cheese, basically you can parry his slashes, then whenever you see him about to kick, roll. then repeat. The sharko should be dead after a while depending if you have LHT, Med or HVY weapon, you can use ice mantras they are useful
- Anonymous
- Anonymous
- Anonymous
The easy way tho fight the two sharks is to trow a shaman bone blade and they fight each other
- Anonymous
The best way to beat these guys is to not, instead you should run away heroicly
- Anonymous
This and Queen Yharnam were the hardest parts of Platinuming this game (well, with Yharnam it was less her and more the process of getting to her). Never again. If I ever decide I want to play through the game with the Rakuyo, it will be on that character and no other. I don't care that he's a bright blue bearded old man named Grandpa Frosty. I am NOT going through this again. My Fashionborne game will simply have to suffer.
- Anonymous
- Anonymous
BLOCK PARRY DODGE!!! GG EZ SENT TO DEPTHS, WIPED, L BOZO + UR MID + RATIO
- Anonymous
- Anonymous
- Anonymous
- Anonymous
almost gave up until i smacked on with a shaman blade after the second appeared, and then spammed tiny tonitrus at both
- Anonymous
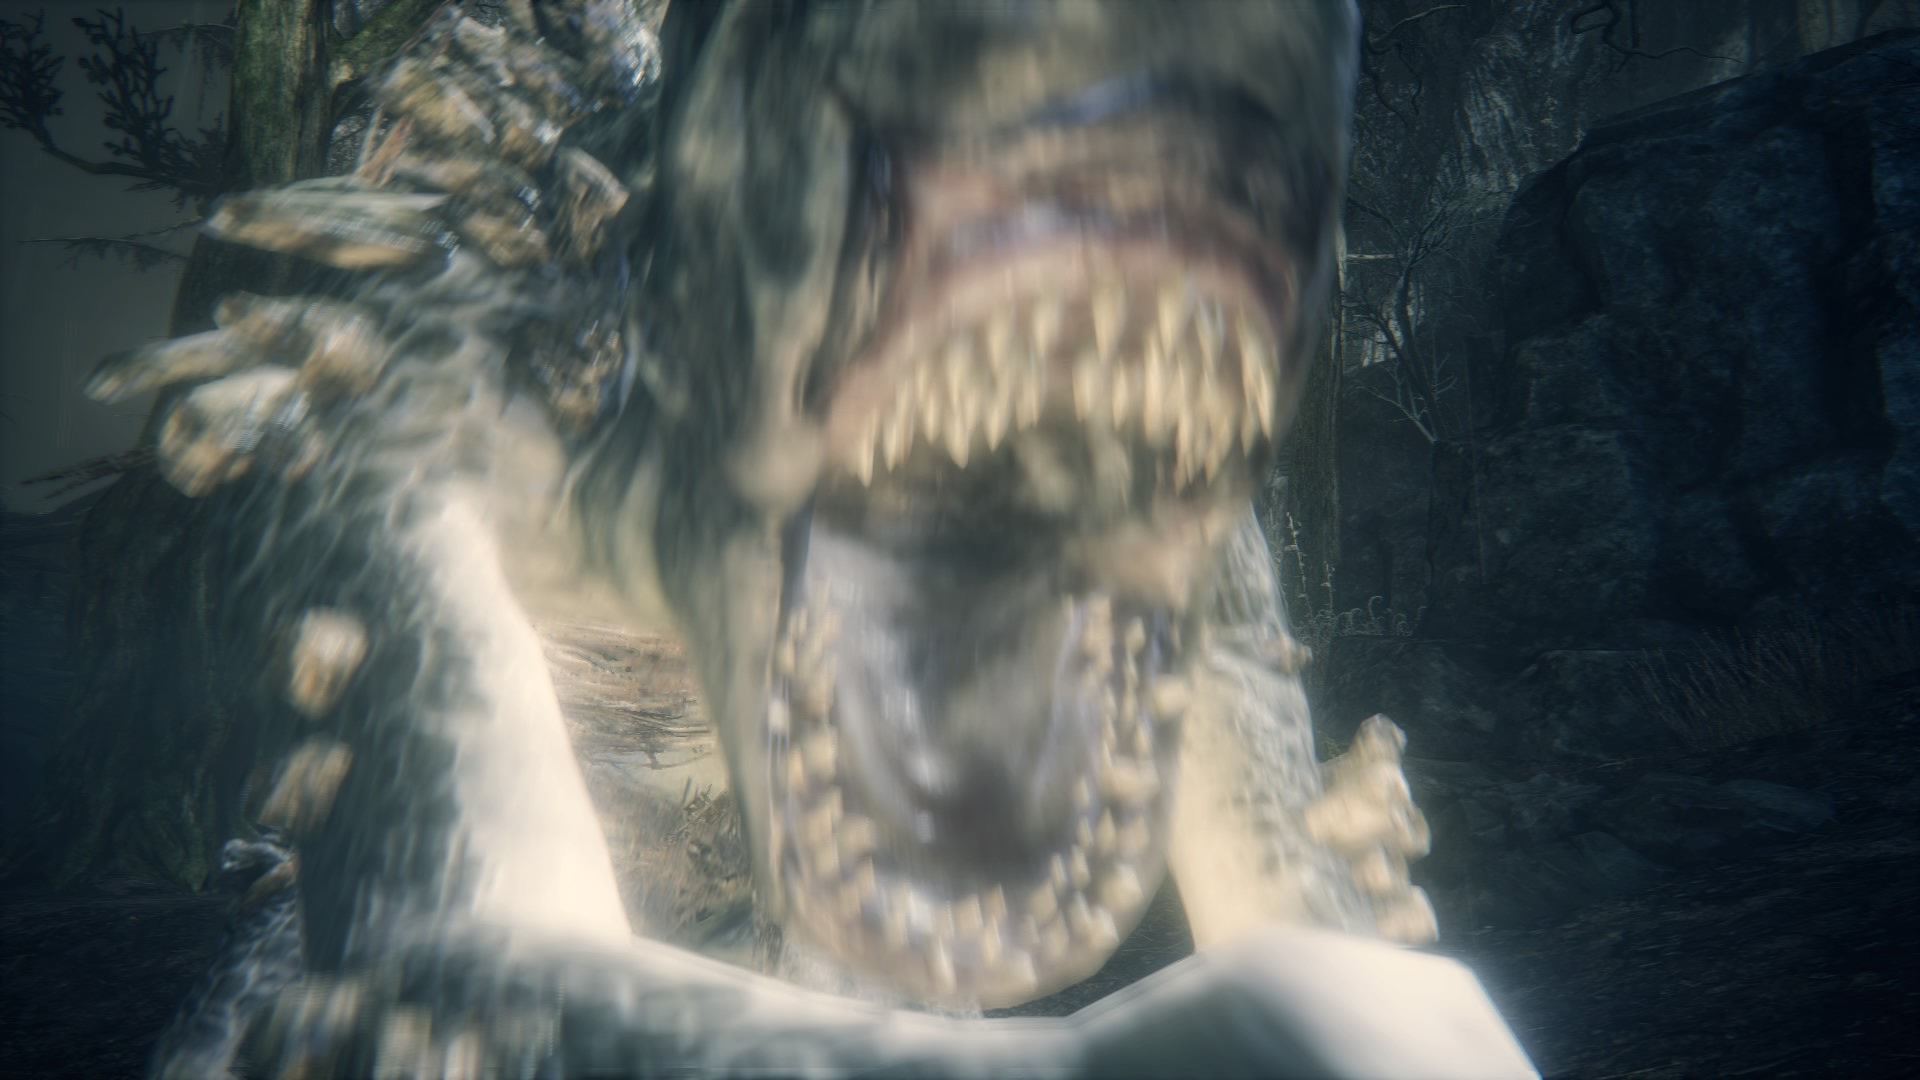
whoever managed to get the "jiggle jaws" screenshot, you have earned the respect of god himself
- Anonymous
the only Souls enemies I consider to be a bit much. lol.
Kill them from range if you can.
- Anonymous
- Anonymous
i think the dev who developed this crap has never beaten this enemy alone by himself!
- Anonymous
huge hp, ungodly poise, fast attacks, incredible tracking, charges. what.
- Anonymous
Guys, I am having a very difficult time defeating these shark creatures. I try to roll their kicks but it just doesn't seem to work! Their insanity roars always get me scratching and their stupid single slashes are annoying! Please nerf or teach me! Agamatsu's videos worked half the time but his megalodaunt one sucks!
- Anonymous
- Anonymous
- Anonymous
- Anonymous
I don't usually try to cheese enemies/bosses whenever I'm having a hard time even with the likes of Ludwig or Orphan of Kos, but those two ****ers in the well gave me an aneurysm so bad that they left me with no other choice.
Thank god I don't have to go through that again.
- Anonymous
Not sure what I did but I entered through the tunnel. Dropped down and fought for a while. I never got the first shark below 3/4 health and decided to retreat up the ladder. Decided to grow some balls to continue the fight and I beat one that gave me the sword and never had to fight a second one.
- Anonymous
Ah yes the Fishing Hamlets first boss fight in that damn well.
- Anonymous
I think it depends on the weapon.. I beat them at second try. using saw cleaver with bolt lols
- Anonymous
My 50 vit character can manfight these horrid creatures in NG using lead elixir.
Lead elixir does not let you stagger and you take less damage. Any damage you take you can regain through by hitting it back. Straff to its back to regain stamina and continue.
In fact, lead elixir is my go to item for any chaotic boss fights where opening are narrow e.g. 3rd phase of Laurence and Lady Maria
- Anonymous
lmao i got the rayuko second try on my first time clearing the dlc
playing pure arcane build, level 80 had 50 arcane and uncanny fire whirligig saw, just kited the first shark to the back of the grotto, hit twice with tricked form R1, dodge, repeat until he tries to flee to the other shark, executioner's gauntlet three times while he flees, you can 1v1 the second shark the same
- Anonymous
- Anonymous
I would consider it as hard as the Orphan of Kos. Orphan has more HP but that Shark Giant can oneshot you and you have to fight two to get the weapon. At BL113 its still hard.
- Anonymous
- Anonymous
Never had a problem w these guys, I actually might be the only one who enjoyed fighting them
- Anonymous
Why are people so pissed about these dudes? They may be hard but they’re fair, if you need a good strat grab the glock and parry ‘em.
- Anonymous
"The glowing urns in the area appear to kill all enemies who get damaged by them, regardless of health. Using this to your advantage can make short work of the giants." Complete and utter nonsense. On NG6+ it merely takes a chunk out of their health.
- Anonymous
****ing scared the **** out when he jump at me for the first.
- Anonymous
Pop a beast pellet and take out the 1st one before the cavalry arrives.
After trying every different cheese/easy method on these things and just getting wrecked, I've decided that the only way to beat these b*stards is to fight 'em toe to toe. Kite em around the center pillar so you can face them one at a time, but you've just gotta visceral them to death cause the cheese routes are inefficient and just get you killed anyway.
- Anonymous
- Anonymous
- Anonymous
I just beat them using the holy moonlight sword’s beam attack, by standing at the cliff where the winter lanterns are you can agro one of them with the monocular and throwing knives and just hit them with the moonlight beam in between their attacks
- Anonymous
important note: If you use visceral attacks you should make it so that it takes away below 50% of his health so that he wont start calling the one on the ceiling. That way he will keep attacking and give you a chane to perform another visceral attack and a few additional normal attacks.
Either that or your first visceral attack will have to kill him immediately.
- Anonymous
- Anonymous
big kudos to everyone using the rakuyo. probably the hardest to optain weapon in the entire game, the sharks suck
- Anonymous
Honestly, having a horrible time working on these with my church pick.
Switched to my saw spear, threw on some fire paper and destroyed both with viscerals in under a minute. Very happy~

They are very weak to fire. I got over 3k damage on one with an axe spinny attack using fire gems. Still need to avoid getting combo'd to death, though.
0
+10
-1