Huntsmen |
|
|---|---|
 |
|
| Enemy Type |
Neutral |
| Health |
70 ~ 518 |
| Drops |
Blood Vials, Quicksilver Bullets, Pungent Blood Cocktail, Oil Urn, Bone Marrow Ash, 48 ~ 695 Blood Echoes |
| Weak |
Nothing |
| Strong |
Nothing |
| Locations |
Central Yharnam, Healing Church Workshop, Forbidden Woods, Yahar'gul, Cathedral Ward, Hemwick Charnel Lane |
| NG+? |
Yes |
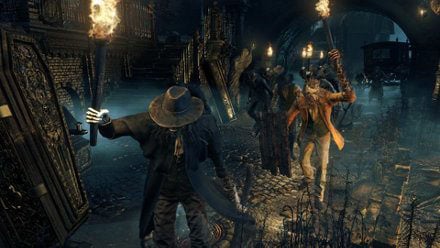
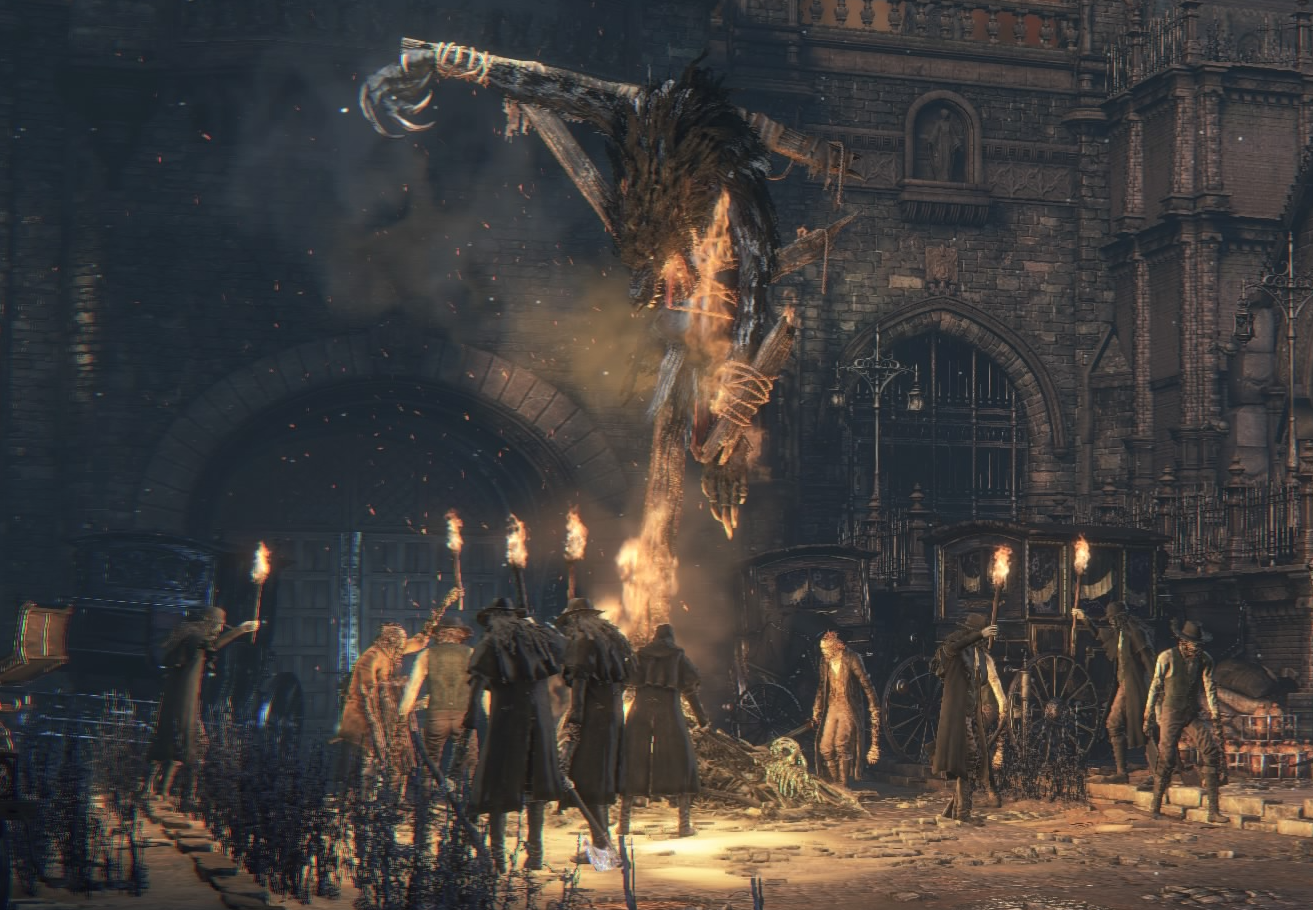
Huntsmen in Bloodborne are human enemies hunting threats to Yharnam. Due to the infestation of the scourge, this is what the mob that has risen for the beast hunt have become. The fever-like urge to hunt remains, but they themselves have already been infested with the scourge of the beast. Unaware of this fact, they continue to search for prey to hunt and kill. Perhaps through their murky eyes, humans are seen as the true beasts.
Hunter Mob Information
This is possibly the most common mob you will encounter in the game, and they are greatly varied. The variations all share some likeness, but require attention in terms of which strategy to adopt. The huntsmen are mostly low to mid-level enemies; in large groups they can still be challenging, however, particularly the molotov and rifle variants.
Strategy
- The shield-bearing variant will be able to block one or two hits before becoming staggered and exposed.
- It is important to consider one's distance between oneself and the rifle variant: the closer the shooter, the more damage he inflicts.
- Pitchfork variants have long and deceiving range, it is recommended to sidestep when dodging their swing
Huntsman Information
These enemies come in several variations and can be found in many of the different locations in Bloodborne.
Wooden Shield and Torch
| Location |

|

|

|

|

|

|
| Central Yharnam |
70 |
48 |
21% |
(x2) 10% |
5% |
- |
| Healing Church Workshop |
127 |
114 |
21% |
(x2) 10% |
5% |
- |
| Forbidden Woods |
179 |
556 |
21% |
(x2) 10% |
5% |
0.5% |
| Yahar'gul |
403 |
347 |
10.5% |
(x2) 5% |
2.5% |
- |
Axe and Torch
| Location |

|

|

|

|

|

|
| Central Yharnam |
150 |
48 |
21% |
(x2) 10% |
5% |
- |
| Cathedral Ward |
194 |
193 |
21% |
(x2) 10% |
5% |
- |
| Healing Church Workshop (Executioner) |
218 |
128 |
21% |
(x2) 10% |
5% |
0.5% |
| Healing Church Workshop |
271 |
142 |
21% |
(x2) 10% |
5% |
|
| Forbidden Woods |
306 |
695 |
21% |
(x2) 10% |
5% |
0.5% |
| Yahar'gul |
518 |
485 |
10.5% |
(x2) 5% |
2.5% |
- |
Pitchfork
| Location |

|

|

|

|

|

|
| Central Yharnam |
150 |
48 |
8% |
- |
- |
- |
| Cathedral Ward |
123 |
171 |
8% |
- |
- |
- |
| Healing Church Workshop |
191 |
128 |
8% |
- |
- |
- |
| Forbidden Woods |
301 |
556 |
8% |
- |
- |
- |
| Yahar'gul |
518 |
485 |
4% |
- |
- |
- |
Sickle
| Location |

|

|

|

|

|

|
| Central Yharnam |
70 |
48 |
8% |
- |
- |
- |
| Cathedral Ward |
125 |
171 |
8% |
- |
- |
- |
| Healing Church Workshop |
215 |
128 |
8% |
- |
- |
- |
| Forbidden Woods |
301 |
556 |
8% |
- |
- |
- |
| Yahar'gul |
403 |
347 |
4% |
- |
- |
- |
Cleaver
| Location |

|

|

|

|

|

|
| Central Yharnam |
70 |
48 |
8% |
- |
- |
- |
| Healing Church Workshop |
215 |
114 |
8% |
- |
- |
- |
| Forbidden Woods |
301 |
556 |
8% |
- |
- |
- |
| Yahar'gul |
403 |
347 |
4% |
- |
- |
- |
Cutlass
| Location |

|

|

|

|

|

|
| Central Yharnam |
150 |
48 |
(x2) 32% |
- |
- |
- |
| Cathedral Ward |
194 |
193 |
(x2) 32% |
- |
- |
- |
| Healing Church Workshop (b) |
271 |
142 |
(x2) 32% |
- |
- |
- |
| Forbidden Woods |
381 |
695 |
(x2) 32% |
- |
- |
0.5% |
| Yahar'gul |
518 |
485 |
(x2) 16% |
- |
- |
- |
Rifle
| Location |

|

|

|

|

|

|
| Central Yharnam |
90 |
48 |
- |
(x3) 100% |
- |
- |
| Cathedral Ward |
158 |
214 |
- |
(x3) 100% |
- |
- |
| Healing Church Workshop |
164 |
142 |
- |
(x3) 100% |
- |
- |
| Hemwick Charnel Lane |
152 |
266 |
- |
(x3) 80% (x4) 15% |
(x2) 5% |
- |
| Forbidden Woods |
230 |
695 |
- |
(x3) 99.5% |
- |
0.5% |
| Yahar'gul |
461 |
347 |
- |
(x3) 25% |
- |
- |
Rifle & Cutlass
| Location |

|

|

|

|

|

|
| Cathedral Ward |
161 |
214 |
- |
(x3) 100% |
- |
- |
| Hemwick Charnel Lane |
152 |
266 |
- |
(x3) 80% (x4) 15% |
(x2) 5% |
- |
| Forbidden Woods |
230 |
695 |
- |
(x3) 99.5% |
- |
0.5% |
Oil Urn
| Location |

|

|

|

|

|

|
| Forbidden Woods |
301 |
556 |
21% |
- |
- |
5% |
Molotov
| Location |

|

|

|

|

|

|
| Forbidden Woods |
179 |
556 |
21% |
- |
10% |
- |
| Yahar'gul |
403 |
347 |
10.5% |
- |
5% |
- |
Dialogue:
- "Away! Away!"
- "I'll eat your brain!"
- "Cursed beast!"
- "You plague-ridden rat!"
- "You're better of dead!"
- "It's all your fault!"
- "Beast! You foul beast!"
- "Help me! Oh God!"
- "You are not wanted here!"
- "Burn! Burn!"
- "No! I'm not one of you!"
- (When wearing Church or Gascoine's set) "Death to the minister!"
- (Dying)"Cursed beast..."
- (Dying)"This town's finished..."
- (Idle)"It's a curse...a curse"
- (Idle)"This town is done for"
- (Idle)"By Master Willem..."
Notes & Trivia
- Molotov variants can be farmed in early game for Molotov Cocktails.
- Most of them are wearing variants of the White/Black Church Set or the Shabby Set mixed with the White/Black Church Set.
Gallery

Load more
