Cathedral Ward is a location in Bloodborne. The player will initially enter from Central Yharnam and have a few optional routes to progress from here.
General Information
- Previous: Tomb of Oedon
- Next: Healing Church Workshop, Old Yharnam, Nightmare Frontier, Hemwick Charnel Lane, Forbidden Woods
- Suggested Level: 20 to 30
- Suggested Upgrade: +1 or +4
- Bosses: 1
- Lamps: 2
- Insight Gained:
- Grabbed by invisible enemy(+1)
- Find Vicar Amelia (+1), Defeat the Vicar Amelia (+3),
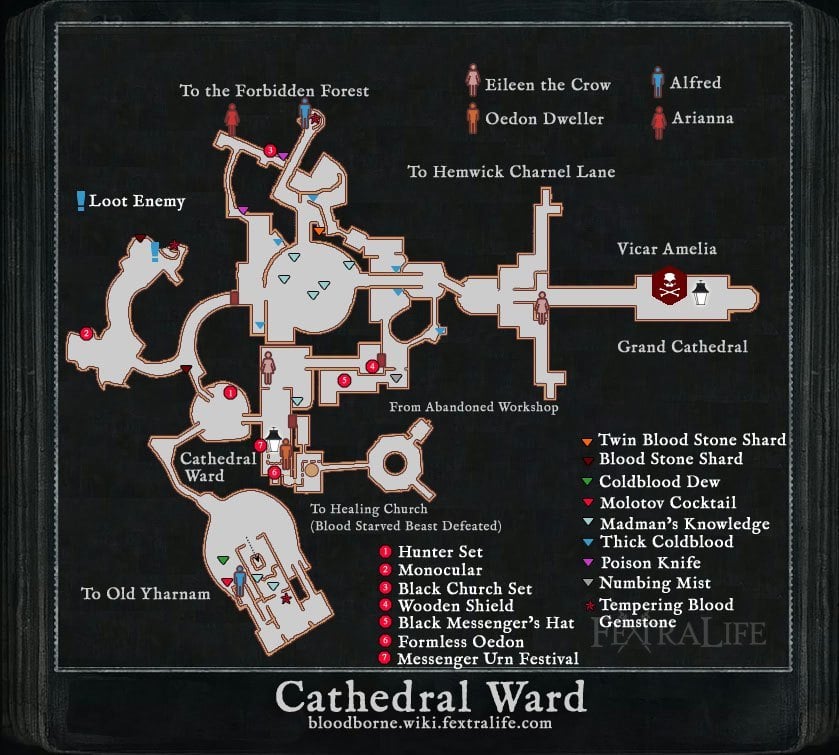
Cathedral Ward Map
NPCs in the area
- Alfred
- Arianna
- Skeptical Man
- Odeon Chapel Dweller
- Eileen the Crow
- Lesser Amygdala (Giant Hand)
- Lonely Old Woman
- Hunter Henriett ((summonable only) use the Old Hunter Bell, found near the wooden shield. You must open the gate that has Messengers around the lever, or her summons will not appear)
Bosses
Items
Weapons
Consumables
- Blood Vial x ??
- Madman's Knowledge x7
- Bloodstone Shard x3
- Twin Bloodstone Shard
- Fire Paper x3
- Coldblood Dew
- Antidote x4
Specials
- Hunter Set
- Formless Oedon (Door to Healing Church Workshop after defeating Blood-Starved Beast)
- Messenger Urn Festival (Door to Healing Church Workshop after defeating Blood-Starved Beast)
- Black Church Set
- Messenger's Black Hat
- Monocular
- Tempering Blood Gemstone x2
- Adept Blood Gemstone
Enemies
- Huntsman (Torch & Axe, Sickle, Cutlass, Pitchfork, Rifle, Rifle & Cutlass)
- Large Huntsman (Torch & Saw, Plow)
- Wandering Madness
- Brick Troll (Brick, Statue)
- Rabid Dog
- Snatcher
- Carrion Crow
- Chapel Giant
- Church Servant
- Brainsucker
- Bloody Crow of Cainhurst (Chikage Hunter - Eileen the Crow Questline)
- Yahar'Gul Hunter (Tonitrus & Wooden Shield)
- Yahar'Gul Hunter (Rifle Spear & Ludwig's Rifle)
Lore Notes
- After beating Father Gascoigne and ascending a ladder into a study as you're entering Cathedral Ward , a note is around the first table, reading the following, "The Byrgenwerth spider hides all manner of rituals, and keeps our lost master from us. A terrible shame. It makes my head shudder uncontrollably."
- "A watchman of Byrgenwerth guards the gate with a password, the sacred adage of the Grand Cathedral." From a note atop the tower where you need to drop down to be able to open the second gate.
- The note on the right side near some candles before you ascend the steps inside the Grand Cathedral in Cathedral Ward, reads : "Heir to the ritual of blood, purveyor of ministration. Place your hand on the altar's sacred covering, and inscribe Master Laurence's adage upon your flesh."
- A note reading, "The sky and the cosmos are one. - The Choir.", can be found on the outside of the workshop building while ascending to Upper Cathedral Ward.
Cathedral Ward Walkthrough
Safe Passage
Entering the area from Central Yharnam immediately after defeating Father Gascoigne, and the Cathedral Ward lamp can be found very quickly on the same same path. You should talk to the NPC Odeon Chapel Dweller (Agatha) next to the entrance door, to ensure you have triggered the right dialogue, which allows you to invite NPCs to take refuge in this Chapel. You can return to Central Yharnam now and find the woman hiding near the dog kennels, invite her to the chapel and receive the Gesture: Triumph after speaking to Odeon Chapel Dweller.
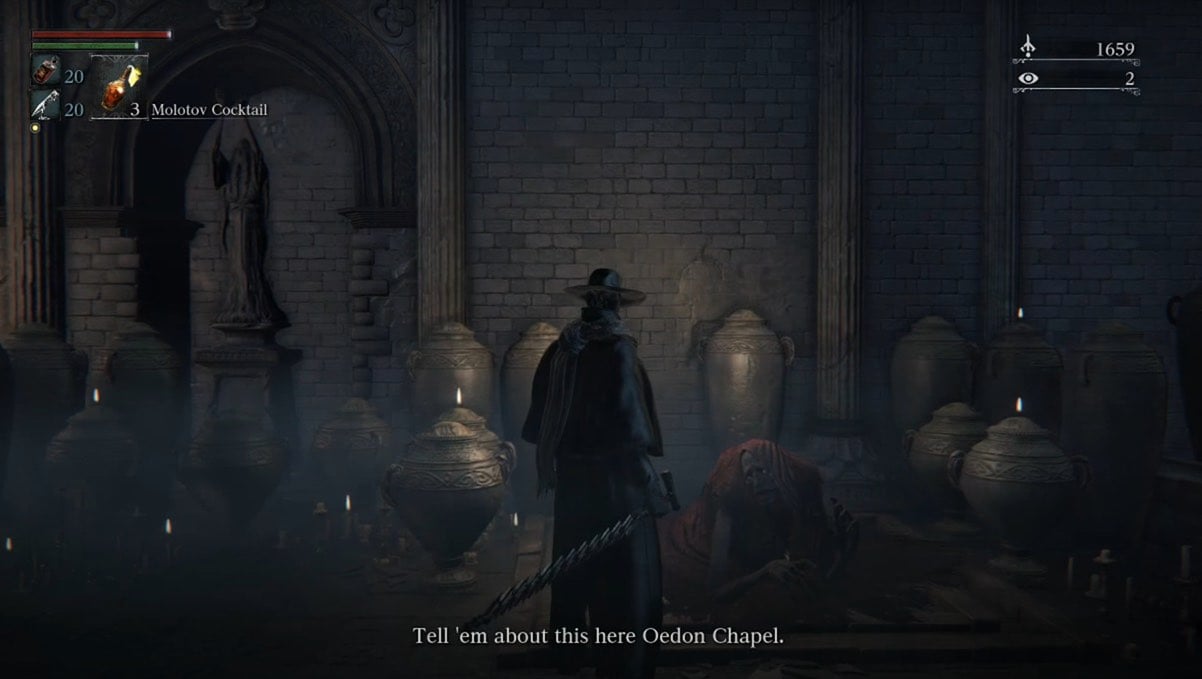
Back in the Cathedral Ward, the old woman from the dog kennels will be wearing white and sitting in the chapel. Approach the old woman and exit through the door to the left of her. Two Church Servant enemies await here, deal with them and you can pick up the Hunter Set on the right side - but quickly move away as you will otherwise be grabbed by an invisible "blue light" enemy that can one-shot kill you. The rest of this open area holds a Blood Vial next to a staircase.
Exit through the same stairs, going down, and defeat the other Church Servant then continue downwards until you see a small bonfire, and torch mobs and hounds. Stick to the right side of the map and wait for the patrol to come near, then defeat the dog and its master. You can pick up Molotov Cocktail and Coldblood Dew on this side as well. You can now proceed to clear the enemies that remain outside, while keeping an eye on the pitchfork-wielding enemy, as it has deceptively long range. Ignore the chapel entrance for now, and proceed on the opposite side and once you arrive at the stairs, prepare to be jumped by two extremely fast Rapid Dogs and a Rifle Huntsman. After defeating them, continue through the door and onto the balcony over looking an alter. Pull the lever on that balcony to move the alter, revealing the path to Old Yharnam.
This floor also houses a Madman's Knowledge on the ledge on the left. Don't drop down here yet. Instead, exit the lever room and go right, then right again, and you will meet the friendly NPC Alfred, if you choose to cooperate you will receive the Gesture: Pray and 3x Fire Paper.
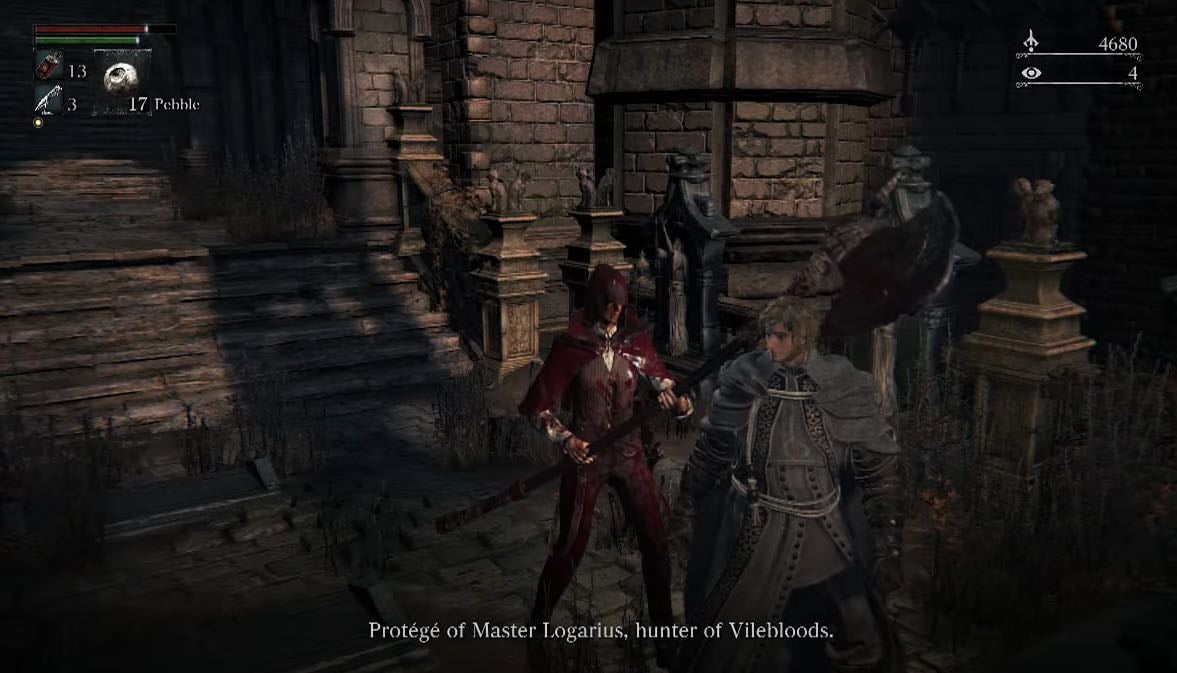
Go back all the way to the lantern downstairs and into the chapel, and proceed without going under the altar so you can pick up a Madman's Knowledge in the far end. Beware to your left, an enemy will attempt to ambush you. Once that is dealt with, head down under the altar and claim Tempering Blood Gemstone. The room down the stairs from this one houses a werewolf, but you can run past if if you wish. Ahead of you is the room with the Old Yharnam lamp, and 4x Antidote.
Ways to go
At this point, you have a couple of options as to how to proceed next, if you wish to continue to explore the Ward fully, continue along the next paragraph. However you are also given the options of either exploring the Healing Church Workshop, or Old Yharnam, which we've just been granted access to via the lever.
If you wish to explore this area fully, head back the way you came and take the right stairs leading up from where you met the first pair of Church Servants. You will find your first Reaper, and a Bloodstone Shard on the left. If you don't want to deal with the Chapel Giant, then wait for him to go up the stairs, sprint in the direction that he emerged from, and operate the lever which closes a gate behind you. Go left from the stairs to find two Brick Trolls and several Carrion Crows. After dealing with all the enemies in this open area, look for the Monocular item near the end of the broken bridge. Continue along the path towards a ball and chain Reaper. Next to him, there is a "Loot enemy", which are like Crystal Lizards in Dark Souls (enemies who run away and will drop materials if you can catch them before they vanish). After you have defeated the giant, claim 5x Bloodstone Shard from the nearby corpse, and head down the stairs to its right to find a Tempering Blood Gemstone in a chest next to a locked door.
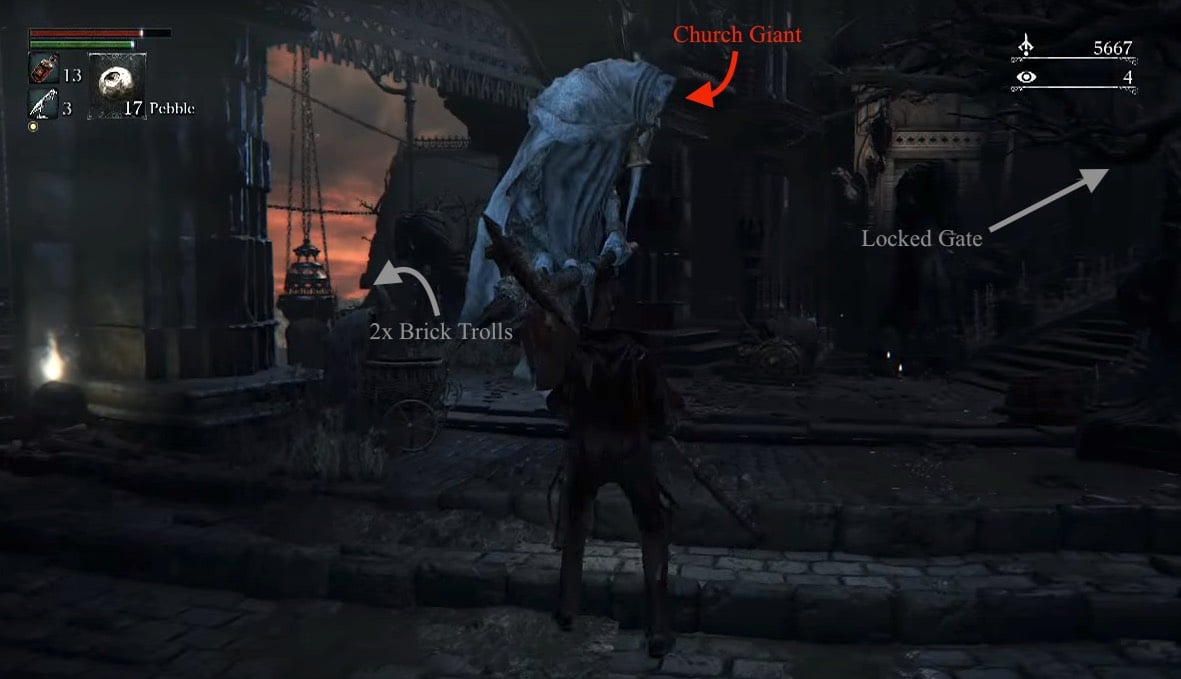
- If you don't have the Hunter Chief Emblem, head to the Healing Church Workshop and down the large hole, then continue through the bottom area hugging the left wall. Take a couple lefts and then take the lift up, then drop off the ledge to be beyond the gate in Cathedral Ward.
- If you would like to obtain the Hunter Chief Emblem, you can buy it in Hunter's Dream for the "low price" of 10,000, after you've defeated the Cleric Beast and Father Gascoigne.
- If you have obtained the Hunter Chief Emblem, you can now go back to the first Chapel Giant and make your way up those stairs instead, unlocking the gate leading to the round plaza.
Before crossing the second gate, head right and find a Thick Coldblood (5). Turn around and find continue past the gate once again to find a Thick Coldblood (4) guarded by a Firesprayer-wielding enemy and a Carrion Crow - don't worry about the contents beyond the second gate, we'll come back to that (however if you want to pick up the loot, there should be 4x Madman's Knowledge scattered around). Beware of this attack that can be extremely deadly. Once the enemy is defeated, you can push on to pick Poison Knife and reach the bottom floor where you will find many doors with NPCs residing within them.
If you have defeated the blood starved beast already, then one of the people you talk to is going to is Arianna. You may convince to send her to one of the safe zones. If you have not defeated the blood starved beast, she will tell you that she "doesn't take clients when it's dark". After talking to her, you can talk to the "Skeptical Man" in the window on the other side. Eventually he will ask you about safe places, and you can send him one of the known ones. He will go to the OPPOSITE Location, so if you want him to go to Oedon Chapel you must send him to Iosefka, and vice versa. Beware of the incoming patrols of 4-5 enemies. On this lower floor, you will find the Black Church Set, along with more Poison Knives. Once you have picked up the items, a Rifle Huntsman will have spotted and begin targeting you. Use the trees as cover to get forward and deal with the rest of the Huntsmen as well.
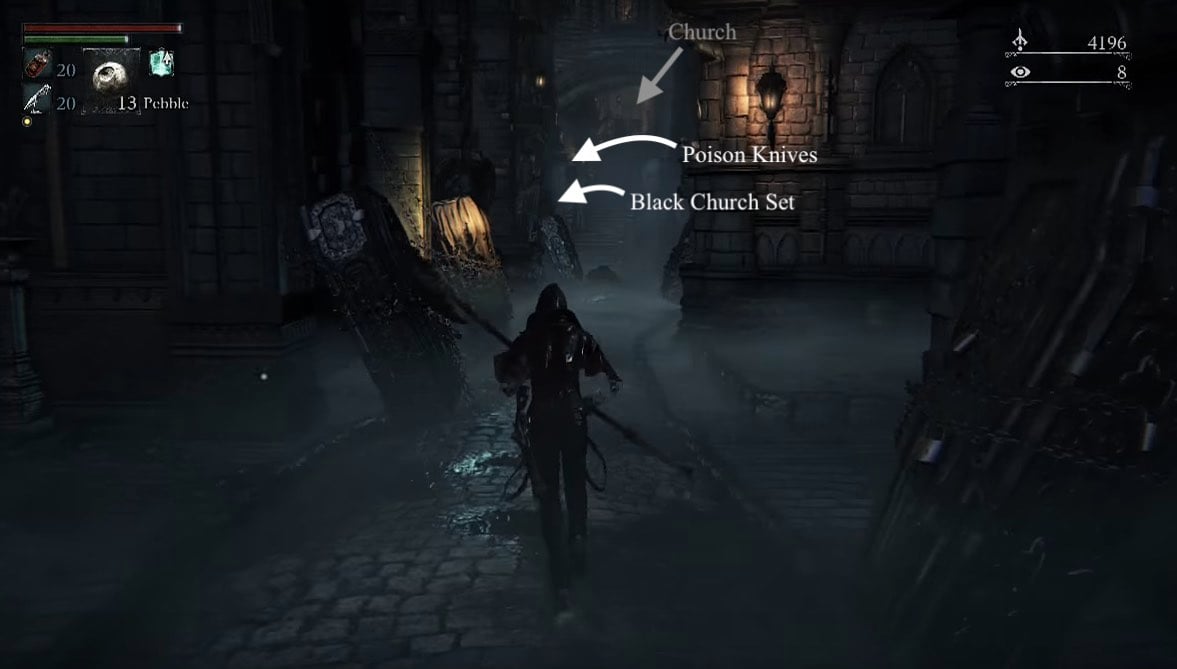
Continue on until you are at his level and can defeat him, and then pick up the Thick Coldblood (4) at the end of the ledge, grabbing the 5x Blood Vial hanging off the edge as you go. Go into the nearby church and up a ladder. At the top, walk forward and drop onto the balcony then the roofs. Pick up the Quicksilver Bullets, and drop off the right side - you may want to perform a falling attack on the underneath dog, then pull the lever that opens the round plaza gate and gather the two Thick Coldblood next to each side of the stairs. After that, find a side alley that will lead you towards the next shortcut to open, next to point N.5 in the map, which is the Wooden Shield. Once the shortcut is unlocked, go up the ladder to your left, and claim Numbing Mist and Messenger's Black Hat items.
Drop from the roofs and head down the stairs, defeat the crow to your right and the Church Servant to your left, and then find Eileen the Crow and talk to her to further her Questline. You can also pick up a Madman's Knowledge amongst the crows on a corner.
When this is done, head back towards the round plaza and take the side exit next to one of the Chapel Giants. Ahead, a crow and a strange enemy will attack you. Deal with them and then find Twin Bloodstone Shard and an Adept Blood Gemstone. Alfred will later on move to this area.
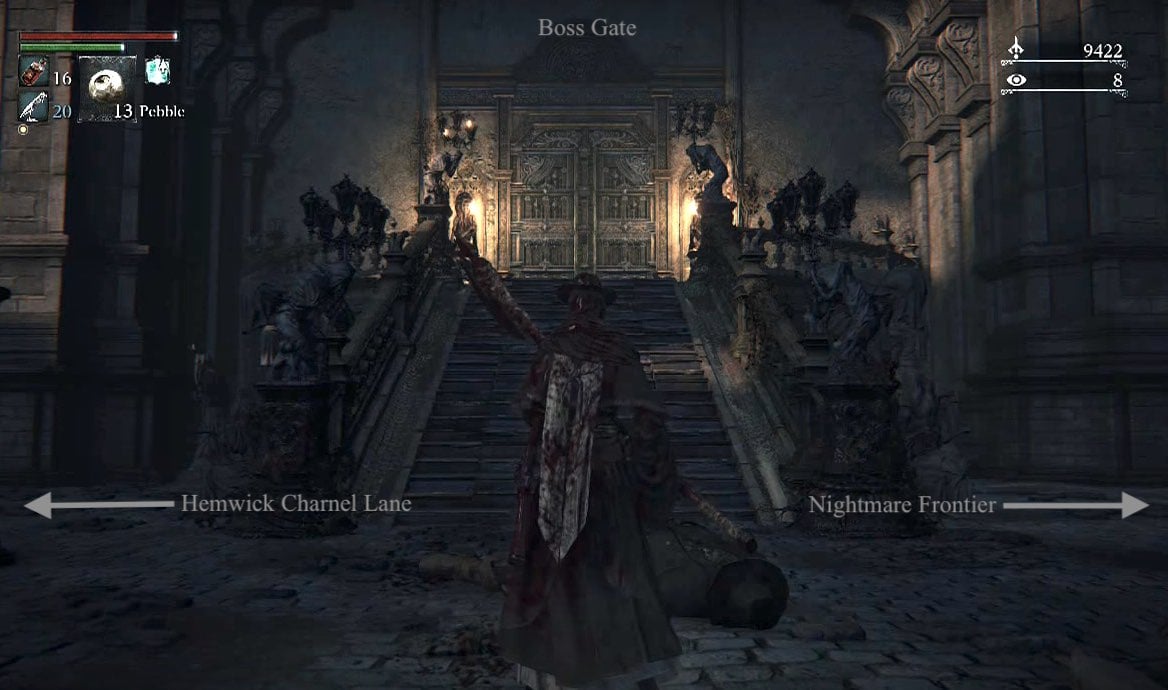
You can now backtrack to the large stairs leading up from the round plaza. The enemies here can be challenging if not divided, so go carefully and make sure to back away if you aggro too many. At the top of the stairs, you can go right to proceed into an area with two hunters and access to the Nightmare Frontier (as long as one possesses the Tonsil Stone), go left to go to Hemwick Charnel Lane, or challenge Vicar Amelia. Having high insight will allow you to hear Amelia's voice during the fight.
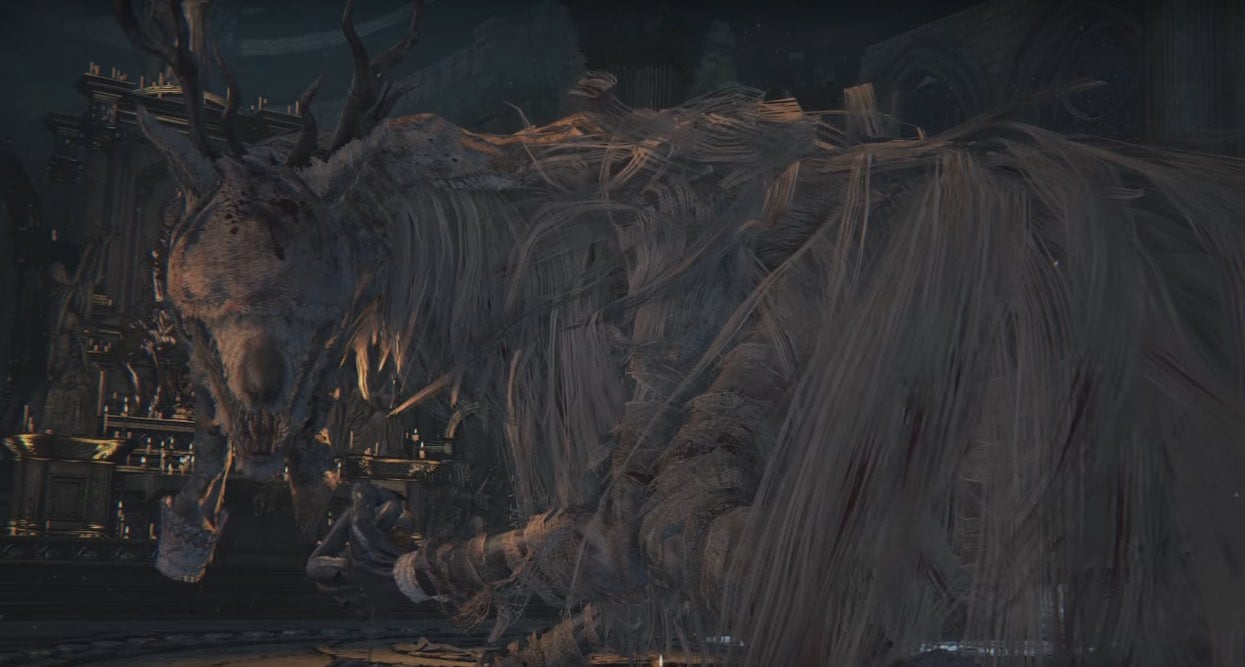
BOSS FIGHT: Vicar Amelia
Chikage Hunter Walkthrough
Once the blood moon has been activated by killing Rom, the Vacuous Spider, and you have been following Eileen's quest line, you will come across her lying on the ground injured outside the Vicar Amelia boss room. She has been hunting a mark that went terribly wrong, and she worries will be killed permanently if she dies again. To save her and complete her quest line, you must kill her mark for her. Easier said then done...
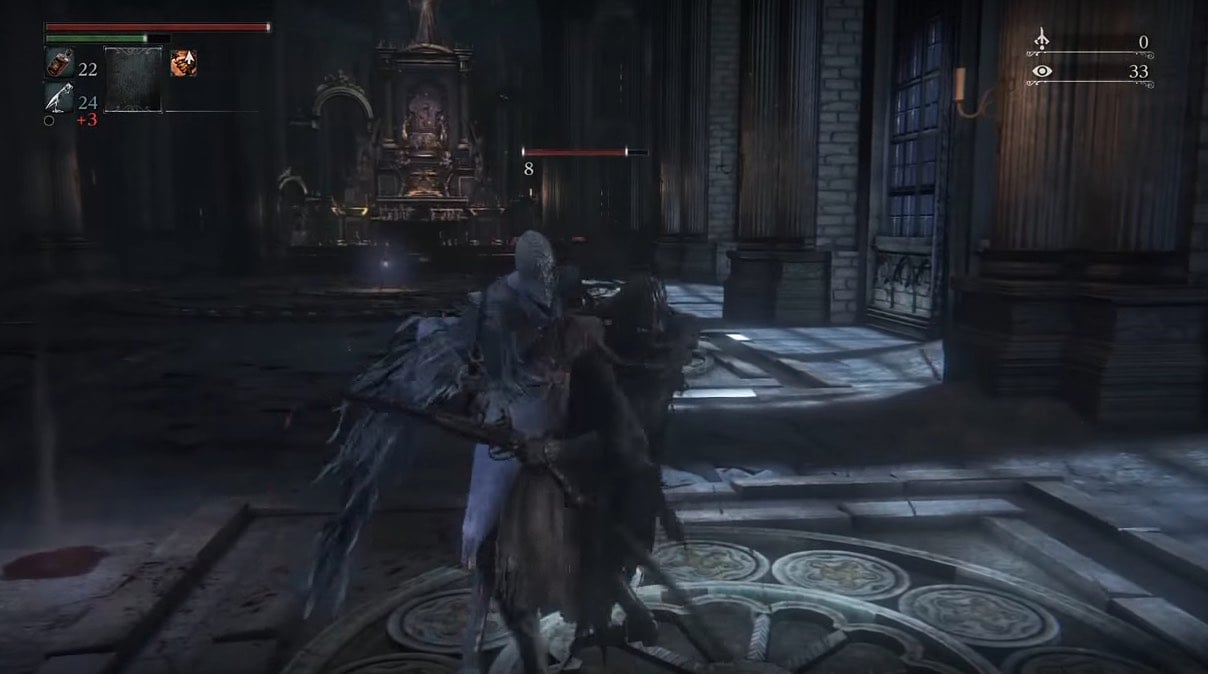
The Chikage Hunter, her mark, can be found inside the boss room waiting for his prey. He is by FAR the most difficult thing you will have to fight at this point in the game. His health is incredibly high, he moves with extraordinary speed, and has super human reaction times. Fighting him will require patience, strategy, and a bit of luck. Here are some invaluable tips and notes on this very formidable opponent:
- First what must be noted are his items. He will take advantage of the Old Hunter Bone, and will almost always have its effect active. He will also throw Numbing Mist if you stay still too long or have low health, so keep moving. While rare, he may also occasionally heal up.
- Combat-
- He wields the Chikage and the Repeating Pistol. His firearm is what you will most have to worry about. The damage is capable of halving your life with a single shot, and he will use this as often as he can. Constantly move to avoid the hail of gunfire, and whenever he dodges, it's best if you do so too, as he often follows up his dodges with gunfire.
- Beware: When either you or he reach low enough health (around ten percent for me), he will begin spamming his ranged weapon in a last second bid to kill you. Keep calm and keep dodging. If you can, try to return fire with your own ranged weapon to try and finish him off, but if you can't, keep dodging around in a circle around him until you can get in striking range, where he is less likely (though not certainly) to use his ranged weapon.
- His sword is actually far less terrifying to fight. To most hunters he will actually do less damage with the sword, though he is quick in his strikes. He will often two-hand his sword as well to do more damage, though he is actually easier to fight as his gun is gone. This is by far the best place to parry him. The Hunter when two handing will either:
- Roll towards you for a rolling attack. In this case, keep dodging. He's too fast at this part.
- Walk slowly towards you and attack, which is incredibly easy to parry him.
- As soon as he is in range with his sword, fire your gun. He will most likely have started attacking at this point and will be stunned. If not, dodge back. For the parry, I suggest equipping the Clawmark rune (Stronger visceral attacks), The Blood Rapture rune (Viseral attacks restore HP) and the Oedon Writhe rune (Visceral Attacks restore QS bullets). These will help you keep going as the fight draws out.
- Most of the danger comes when he has both his sword and gun. If you have a fast weapon with enough stagger damage, hit him once then dodge back. If you follow up he'll use his super human reflexes and parry you, killing you almost certainly. If you don't have speed, try range instead. Keep this up throughout the fight. High damage parry when he two hands, quick strikes when he has gun and sword.
- The most important rule: KEEP MOVING. If you stay still, he will hail you with bullets and mist.
- Keep this up and after a few tries, you might be able to beat him. But don't worry if you don't, he is stupidly overpowered, so stay calm.
- Alternatively, if you don't mind cheesing him, you can just wait until he switches to the blood mode of his weapon, then walk outside the doors. He'll kill himself from the continual damage and won't follow you outside. This is much easier than fighting him.
Cathedral Ward Map
Seems like a repeat of https://bloodborne.wiki.fextralife.com/Cathedral+Ward but with a different name.

Seems like a repeat of https://bloodborne.wiki.fextralife.com/Cathedral+Ward but with a different name.


Seems like a repeat of https://bloodborne.wiki.fextralife.com/Cathedral+Ward but with a different name.
1
+10
-1