


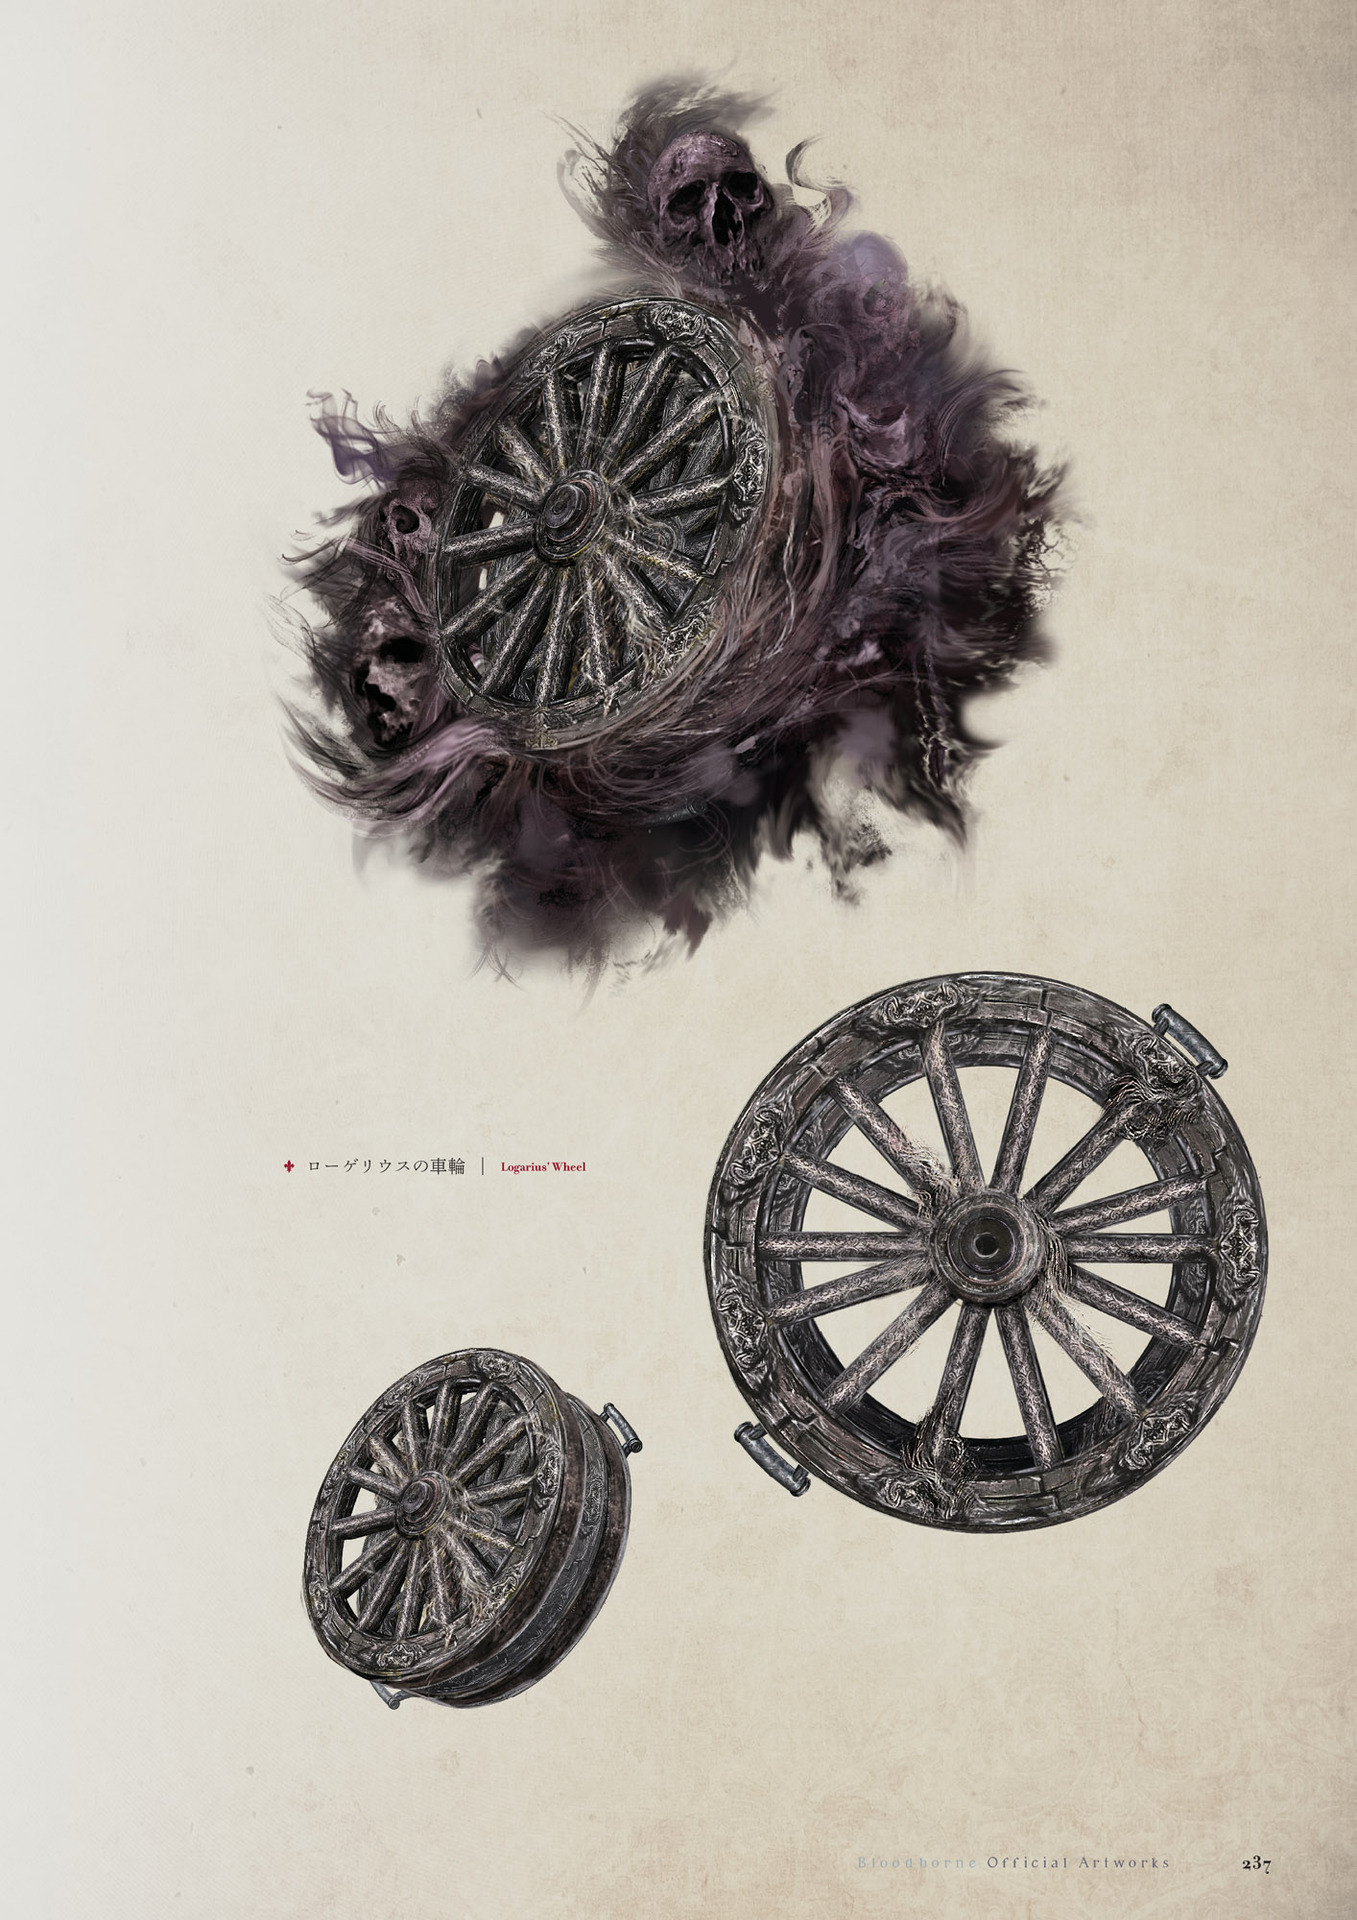
Logarius' Wheel is a Trick Weapon in Bloodborne. A detailed guide to this weapon can be found in this guide article.
Logarius' Wheel Description
"Weapon wielded by martyr Logarius' band of executioners.
Used to slaughter the Vilebloods in Cainhurst. Bathed in pools of their blood, and forever steeped in their ire.
Transform to release the power of the wheel and manifest their lingering rage in a show of utter brilliance."
Logarius' Wheel Information
- This trick weapon is primarily for strength/arcane builds since it utilizes both stats to great effect.
- It's considered a Church weapon; enemies susceptible to this modifier will receive an additional 30% damage from both modes.
- When transformed, the Logarius Wheel gets -30% physical damage, +0.5 Arcane scaling, +200% arcane damage, and +20 flat arcane damage.
- When you are below 30% health and have the L2 activated, the Logarius Wheel's AR displayed in your character's stat screen is erroneously high. There is no change in damage dealt by the Logarius Wheel whether you are at low health or not.
- The L2's %damage bonus (10/20/40/60% for 1/2/3/4 revs, respectively) stacks multiplicatively with the transformation's Arcane scaling and %damage bonus.
Location
Logarius' Wheel
- It can be purchased from the Messengers for 13,000 Blood Echoes after acquiring the Wheel Hunter Badge.
Logarius' Uncanny Wheel
- Cursed and Defiled Root Chalice
- Glyphs: 7h87j4h7 (Layer 2), xy8abwm9 (Layer 1 - bonus room before lamp)
Logarius' Lost Wheel
- Pthumeru Ihyll Root Chalice - Fetid/Rotted/Curse
- Glyphs:
- 74hjsy7a (Layer 1, bonus room before first lantern) Also contains Tomb Mold (5) x2
- Sinister Pthumeru Ihyll Root Chalice
- Glyphs:
- ars6u9q7 (Layer 3, FR)
- y8tqin2h (Layer 2 pre-boss, F) note: this one is closed, so you will have to use the "Search by Chalice Glyph" option, not the "Chalice Dungeon Search" option.
- dm3dhxf5 (Layer 1 Before the first boss room)
Player Notes
- The Logarius Wheel is one of two weapons (the other being the Whirligig Saw) that can reach an S scaling in strength.
- While transformed you can use L2 up to 4 times in succession to power up at the expense of HP.
- The first press of L2 drains 1% hp/s; the second drains 2% hp/s; the third 3% hp/s; and finally the fourth 4%hp/s for maximum effect.
- While powered up your health will be drained.
- However, when you hit an enemy, it replaces some lost health.
- Keep in mind the weapon while transformed will ignore some traditional rally mechanisms; you simply heal every time you hit an opponent and do not have to be hurt by an opponent to do so.
- Your health will not drain during dodges.
- In each stage the buff lasts about 20 seconds.
- Alternatively, you can simply revert the weapon back to normal mode if you wish to end the effect.
- About a second after initially buffing the wheel, the buff will reset back to level 1 if revved again with L2. This can be a way to lower the intensity of the health drain while staying in the transformed mode.
- The buff will no longer drain hp if your max hp drops so that .1% of your hp is less than 1. That means at 999hp, your first buff will have 0hp/s drain, which is excellent for cursed dungeons. This applies to each buff with respective max hp amounts.
- The AR's of this weapon changes dramatically in the transformed state.
- The physical AR is reduced to 70% while the arcane AR is amplified by a factor of 4 (not including any flat AR values added by the Odd Arcane gems effect).
- For example, if you have 400 physical AR and 100 arcane AR from nourishing gems, you'll have 280 physical AR and 400 arcane AR when you transform it.
- The transformed L2 power-up only affects the Arcane portion of the damage. Considering the amount of health it drains, it's not worth using without good Arcane investment and excellent Arcane% or Nourishing gems to boost it.
- While transformed, using the R2 will slam the wheel into the ground vertically and make it spin. While the damage will be a single number, it will still count as several hits, making it very effective for building the Beasthood meter with a Beast Blood Pellet for additional damage increase. The several hits are also good for regaining health with rally or while buffed with the L2.
- Due to the fact the scaling of this weapon changes with stance, Nourishing gems can work very well with a high arcane stat.
- Otherwise, pure physical gems are very useful for damage output.
- Flat arcane gems are also very effective on either setup and can deal massive damage on all multi-hit attacks, but lack power in most other attacks.
- Only one attack from this weapon isn't blunt-type (viscerals), so Adept blunt gems are very effective on it with a high strength stat.
Stats/Scaling
R: Rally/Regain. The amount of HP regained on an R1 attack immediately after taking damage

Move sets & Videos
| Move | Damage Type & Modifier | Stamina | Effect |
|---|---|---|---|
| R1 Combo |   1.00x 1.00x |
35 | A three attack combo, all involving smashing the wheel into the ground directly in front of the player, with the only variation being in the placement of where the attack starts and which part of the wheel slams the ground. The first is over and a little out from the right shoulder, then over and out from the left, and finally directly overhead. The first two attacks strike the ground with the edge of the wheel and the third uses the side. The combo repeats from the first attack. |
| Quickstep R1 | 0.82x |
25 | There are two animations for this attack which are quite similar. The wheel is brought up in all instances and slammed straight down into the ground from above the right shoulder. The forward step is different from the other three directions, in that the arc is shorter and a little faster. |
| Backstep R1 | 0.82x |
25 | A somewhat similar attack to the R1 combo's first attack, except the wheel is brought straight down (and a little more forward) from the right shoulder, rather than from as far to the side as the R1 combo. |
| Rolling R1 | 0.76x |
25 | The weapon is brought down just like the backstep R1. The primary difference being the roll forward helps the hunter close distances faster. |
| Dash R1 | 1.08x |
35 (+run) | A similar attack to the backstep R1 but the wheel is brought up in a higher arc. |
| R2 Attack | 1.18x |
55 | The wheel is dropped off the shoulder and to the right side of the body before being swung horizontally from right to left with a slight downward path. |
| Charged | 1.63x |
70 | The wheel is brought down like the R2 but then back and around to the left side as the hunter turns to the right. The wheel is swept from right to left with even greater force, causing the hunter to spin all the way around with the attack. This attack is prone to deflecting off walls in tiight spaces as a result of the weapon's size. |
| Backstep R2 | 1.08x |
45 | The wheel is brought to the left side of the body. As the player steps forward, the weapon is swung horizontally from left to right. |
| Dash R2 | 1.18x |
55 (+run) | The dashing R2 is functionally the same as the standard R2 attack. |
| Leap | 1.33x |
50 | The weapon is swung overhead and brought down, completely flat into the ground kicking up a lot of dust. |
| Transform Attack | 0.92x |
30 (+x) | There're actually two animations for transformation, but with no functional difference. The weapon is raised overhead and grabbed with both hands, separating the wheel into two wheels on an axle and then brought straight down into the ground. The wheels can be seen spinning. Variations occur only in which side of the head the wheel is held when separating. Backstepping for instance results in the wheel being to the right, and attacking with the standard R1 first leads it being from the left side. |
| Move | Damage Type & Modifier | Stamina | Effect |
|---|---|---|---|
| R1 Combo | 0.97x |
?? | There are at least four attacks to this combo. The first is a low horizontal swing from right to left, followed by a nearly identical one from left to right, then an overhead lift to downward smash with a thrust straight forward to close it out. The high stamina cost for this combo means it should only reach attack four if you're sure you've got your opponent covered. |
| Quickstep R1 | 0.94x |
?? ~ ?? | Similar to the other mode, there are two slight variations on the animation. All four have the wheel brought to the right side of the body and then thrust forward. As in the other mode, the forward step is quicker but shorter. |
| Backstep R1 | 0.94x |
This attack uses the same animation as the first attack in the R1 combo. A low to the ground horizontal swing from right to left. | |
| Rolling R1 | 0.94x |
This attack thrusts the wheel forward much like the fourth R1 combo strike. However, the attack originates from the right instead of the left and is faster. | |
| Dash R1 | 0.94x |
?? (+run) | The wheels are brought back, then thrust straight forward at chest level directly in front of the player. |
| R2 Attack | 1.22x |
?? | The wheels are brought to the left and back, then rapidly brought up and then down, smashing the edges of the wheels into the ground. The wheels spin on the ground for a short duration, creating sparks. This can be a combo as well, with a second attack bringing the weapon to the right, behind and then around with the hunter spinning and using the momentum to once again slam the weapon to the ground. A third attack is even possible with sufficient stamina, in which the wheel is raised up on the right side and back straight into the ground. The third attack can knock most small to mid-sized enemies down. It should be noted that the attacks of the combo become slightly more powerful with each hit and reset with the fourth r2 attack. |
| Charged | N/A | N/A | There is no charged R2 in this mode. |
| Backstep R2 | 1.19x |
?? | The weapon is brought straight overhead and then down, with the same spinning and sparks on the ground as the standard R2. |
| Dash R2 | 1.06x |
?? (+run) | The dash R2 is essentially the same attack as the first R1 combo attack. |
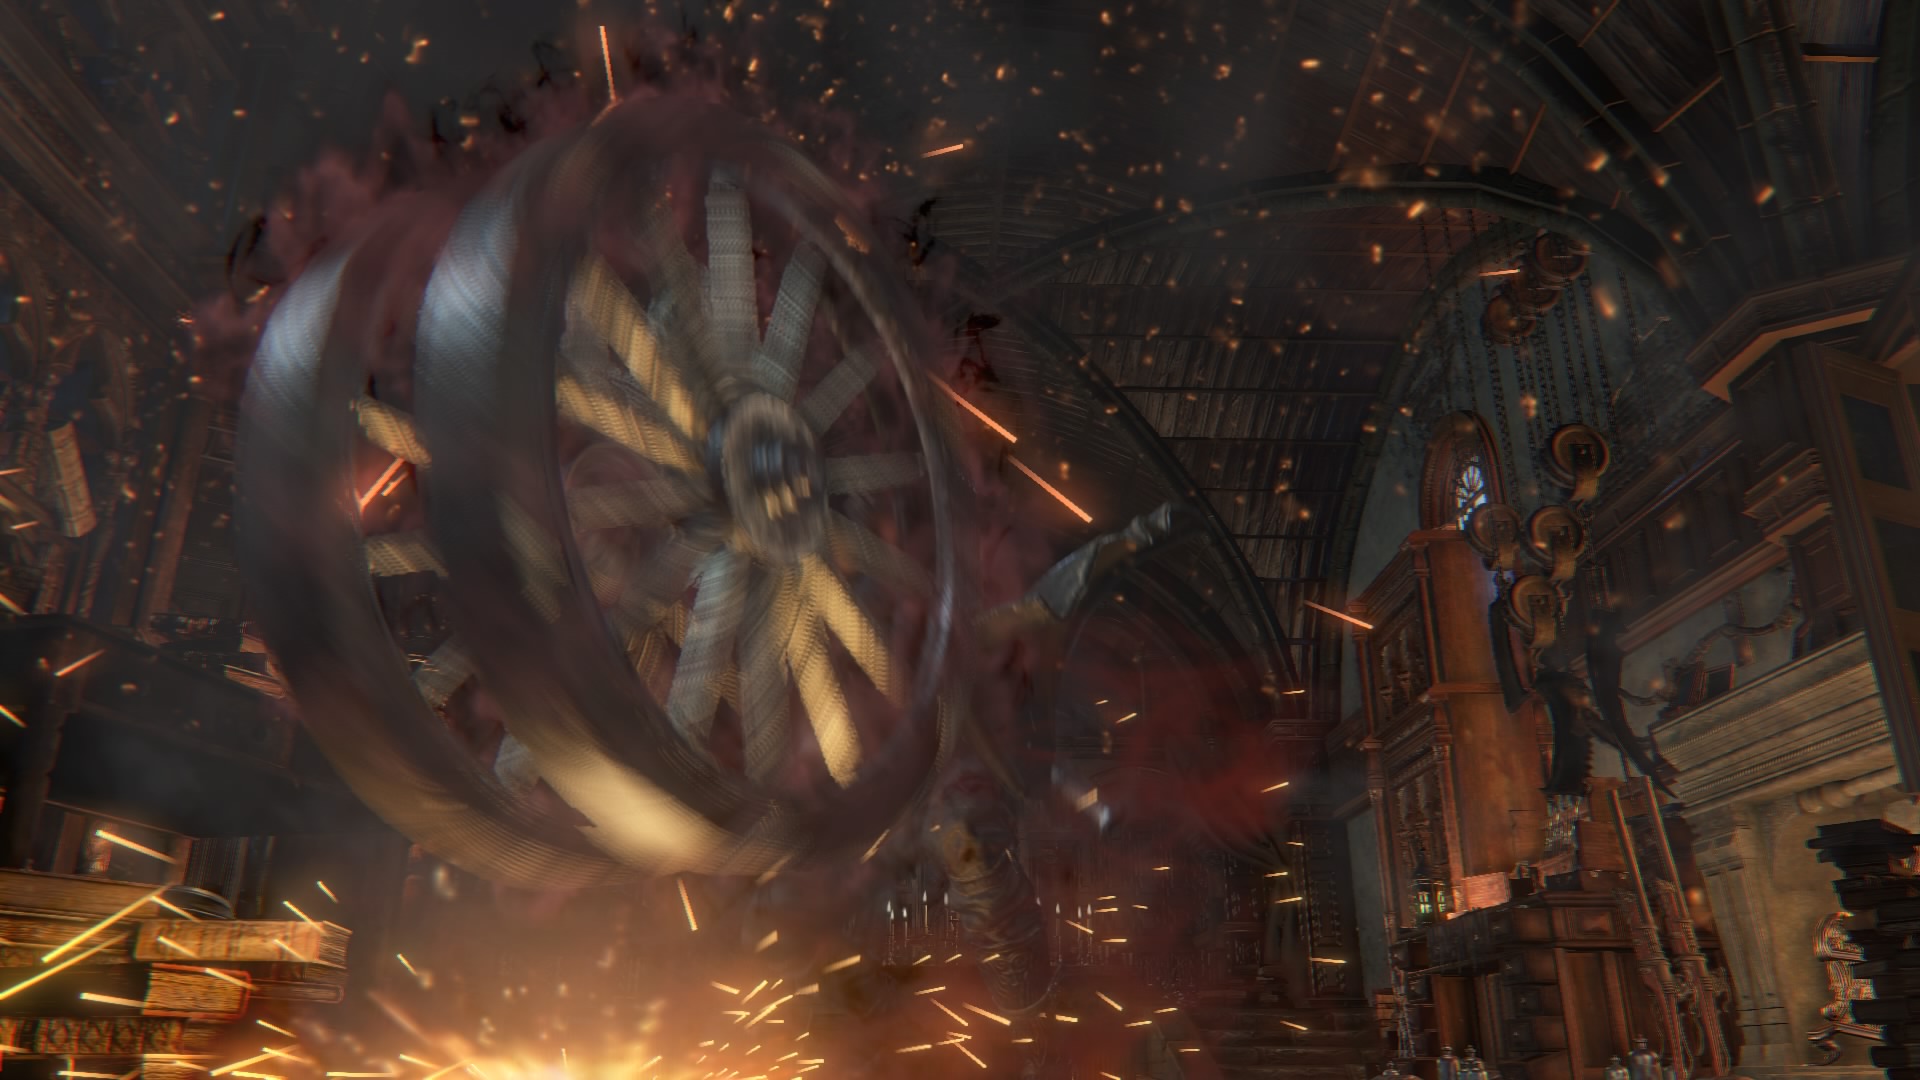
| L2 | N/A | 0 | The L2 doesn't directly attack, but rather enhances subsequent attacks. The wheel is spun, revealing skulls made from the bloody vapor. |
| Leap | 1.25x |
?? | The weapon is brought directly overhead and smashed into the ground as the player lands. |
| Transform Attack | 0.32x |
0 | The wheel is brought overhead, with the side parallel to the ground. The wheels are slammed together, and a spurt of bloody vapor is created in a circle around the player. This does in fact cause damage. While relatively low, it can create a push back effect to some enemies. This attack costs 0 stamina. |
Notes
- Please see this Fextralife Guide for an in depth look on how to maximize the potential of Logarius' Wheel: https://fextralife.com/logarius-wheel-guide/
Trivia
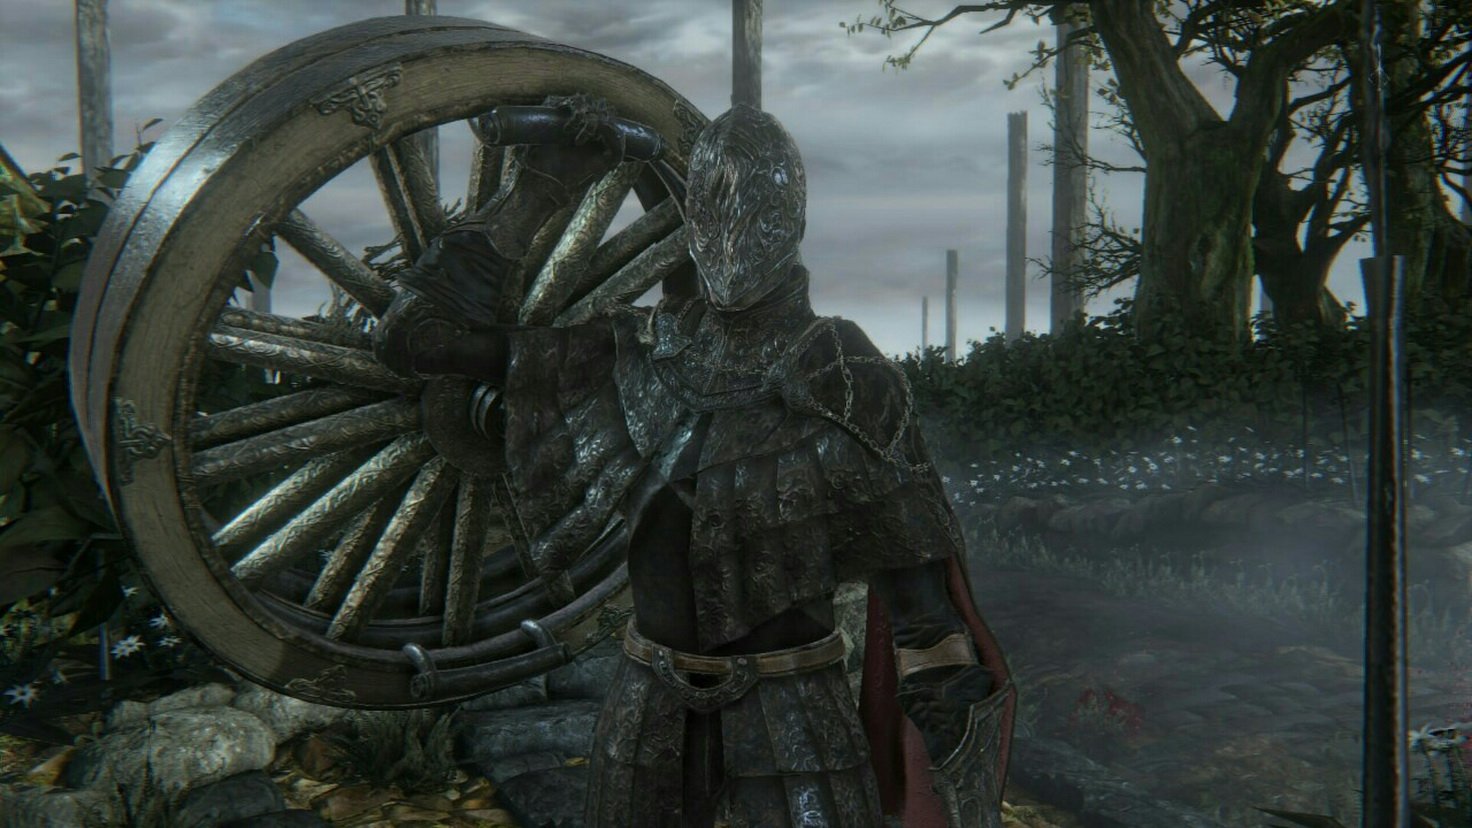
- Alfred utilizes the Logarius' Wheel when found in Cainhurst Castle.
- This weapon is yet another reference to Berserk, as they are often made in Miyazaki's previous Souls games.
- "Logarius and his band of executioners" bear many similarities to Mozgus, an insanely devout man who traveled the land torturing heretics along with his disciples.
- The wheel in particular was wielded by one of his six disciples, .
- In Dark Souls, Bonewheel Skeletons are another reference to Mozgus' disciples.
- In real life, although wheels weren't typically wielded as weapons, they were commonly used as torture devices, especially during the Middle Ages.
- Torture wheels were nicknamed "breaking wheels," since victims often times would have their limbs broken during the process.
- They were also known as "catherine wheels."
- It's quite possible that Logarius' Wheel also takes some inspiration in its use as a weapon from the English folklore legend of Tom Hickathrift. Tom was a fabled giant killer who made use of a cartwheel to vanquish the Wisbech Giant (also referred to as an ogre).
Gallery
- Tested on Cainhurst enemies
- Tested in PvP with naked characters at BL 120 with maxed weapon
Hunters: You need a serrated weapon to deal with the beasts effectively
Me beating an old man with a wagon wheel blessed by the church
- Anonymous
- Anonymous
- Anonymous
damn it would be cool if they like, gave this teeth, and attached it to a stick
- Anonymous
- Anonymous
Am I the only one who thinks this is trash? The attacks make you idle for so long, leaving you vulnerable against attacks, especially in a fast paced game like bloodborne. And there is practically no hyper armor, so in addition to being wide open, you can get stunned so easily before the hitbox appears and that attack would have been for nothing. Also the spin drains way too much health way to fast. This weapon is only for people who enjoy dying without accomplishing any hunting
- Anonymous
if this is a wooden wheel haunted by spirits, it's basically a coffin. i am sleep deprived
- Anonymous
why the heck is there an image of someone in full Cainhurst armor with the wheel in the gallery
- Anonymous
- Anonymous
This weapon really revealed how many people don't know how apostrophe's work.
- Anonymous
An unbelievable missed opportunity to not have the running R2 be the Bonewheel attack
- Anonymous
- Anonymous
- Anonymous
- Anonymous
With 50 Strength and 99 Arcane, this thing is easily the hardest hitting weapon in my arsenal when tricked, hitting upwards of 1.4k with a strong attack, and that's without the l2 buff. It's got pretty good range on it's attacks, solid hyper armour and the roll attacks are nice and quick. Only downside is it's relatively slow speed and the need for nourishing gems to get good damage on it, so you'll probably need to grind the chalices especially if your build is arcane focused. Also killing your enemies with a mf wheel is just strangely cathartic. Maybe Logarius was onto something
- Anonymous
- Anonymous
I know it doesn't count as a shield but this is what I used in my ''All Soulsborne shield only'' since you can't attack with the wooden shield
- Anonymous
“In real life, although WHEELs weren't typically WHEELded as weapons,”
- Anonymous
In the entirety of me playing Bloodborne i have never used this weapon. I finally tried to Pick it up and it's a really weird weapon. Not because of it's moveset but how it works. I tried to get good damage on this thing but just couldn't. I then remembered that noroushing gems are a good choice on Arcane weapons and because I have a Max BL Character i farmed some gems, put them on this Monster and looked at the damage differences. Holy this thing Hits hard! I'm Planning on getting more good gems but i don't have the endurance to farm the abyssal noroushing gems. It's ironic, Not only have i never payed Attention to this amazing weapon but it also showed me how good noroushing gems are. Two Things I never bothered with, yet they are extremely strong combined. This is a good weapon and if you never used it, give it a try and smack some enemies with it. I recommend this glyph for farming the noroushing gems i used. (8q6pkpqx) Second Layer, room right after the lamp, defeat the Gargoyles. It's also a good farming spot for Chunks.
- Anonymous
JESUS, TAKE THE WHEEL!
... ... ...on second thought, give it back. I need it to crush those Vileblood bastards.
- Anonymous
theres no bad weapons in bloodborne, just good and less good
1 of my favorite weapons just because of how unique it is xD
- Anonymous
do the chalice dungeon variants count for the all weapons trophy?
- Anonymous
- Anonymous
My complaint about Logarius Wheel and Boom hammer in base game is that absolute does not exist nourishing gems for them. The first OKeish nourishng gem you can obtain is a 15% ATK up right before Mergo (the end game).
Up to that place you have a full set of 20% Phys Atk Up. And any pure physical weapon with Phys Atk Up would outdamage the wheel and boom hammer BY A LOT (and being much faster).
This weapons only become Viable when you have a full set of good gems from the chalices.
The Tonitrus at least has good base damage and is viable from the begining (but doesn't benefit so much from high tier gems).
THe base game (and even the chalice dungeons) should have much more Nourishing Gems)
- Anonymous
- Anonymous
I hate this stupid weapon because it's just one big wooden wheel.
- Anonymous
- Anonymous
- Anonymous
Just got the Uncanny Wheel from the 2nd glyph. Thank you SO MUCH!!
- Anonymous
Sometimes I forget this does Arcane damage and not Blood dmg
- Anonymous
why cant I weild 2 in each hand and use them to wheel around yharnam
also gavlan wheel gavlan deal
- Anonymous
- Anonymous
- Anonymous
Does the "first transfromation-no damage" thing work? Is it true it doesn't eat your health as long as you're under 1000HP?
- Anonymous
- Anonymous
- Anonymous
I just got this weapon.
I am blown away by its' complete insanity in terms of design.
- Anonymous
Only weapon I have on two different characters. Nourishing with high stats and flat arcane with base stats make it so worthy it’ll encourage you to use its move set differently too which is quite rare.
- Anonymous
I want this wheel! Can anyone help? I have talked to Alfred earlier on in the game, summoned him to help me with the BSB. And then he just vanished. I have looked up guides and looked for him at the balcony overseeing the path to the Forbidden Woods, he isn't there. I am currently at the Blood Moon Phase (killed Rom and the One Reborn but not any further). I have the Unopened Summon with me. And I am afraid to move forward with the game because I don't want to miss this quest line. But I just can't find him. Is this a bug? Does anyone else have this problem (so far online I don't see that others have this issue)? Or I am doing something wrong? THANKS!!!!!
- Anonymous
Hugging your knees and crying as Logarius’ golden cone head squad just f**ks your s**t right up.
- Anonymous
- Anonymous
Alfred died to fckin Blood Starved Beast. I won't get this weapon? At least I've defeated the Beast that time so his death was not for nothing.
- Anonymous
"We were afraid of vampires with katanas, so we built these deadly wheels that shoot ghost juice everywhere"
Uncanny logarius wheel in bonus room between chamber of the seal and layer one. 9ermkyya
- Anonymous
These berzerk lore theory spam articles are out of hand. I get it's likely a reference, but dude, have you considered that the writers for the series came up with their own ideas?
- Anonymous
Rotted Pthumeru Ihyll [ykfd7rhi] (F/R/-) L2: Lost Logarius' Wheel L3: Lost Reiterpallasch, Lost Burial Blade L3 is a very large area with 3 treasure chests.
- Anonymous
"Keep in mind the weapon while transformed will ignore some traditional rally mechanisms; you simply heal every time you hit an opponent and do not have to be hurt by an opponent to do so." This is completely wrong, you don't just get free healing when the L2 buff is active, you are just able to regain the health lost to the L2's health draining effect through rally.
- Anonymous
- Anonymous
i think this is easily the most underrated weapon . with the right build and knowledge of how to effectively use the L2 buff , this can leave enemies in pure speechless shock of how fast they just erased . Especially satisfying against typical Ludwig Blade abusing noobs who think they are gonna one shot evrything with their super op broken charged R2 . Plus I like to amuse myself by speaking like a caveman when I use it "ME ANGRY ME SLAM WHEEL"
- Anonymous
Just read the breaking wheel stuff on wikipedia. Remember those people tied to wheels on poles in Skalitz in Kingdom Come? That put those scenes into perspective...*****.
- Anonymous
This weapon in normal form: C O M E O N A N D S L A M. In trick form: S M O K E W E E D E V E R Y D A Y.
- Anonymous
It runs on terrible VHS tapes and DVD's. It's the torture device of the modern age. It's The Wheel of the Worst!
- Anonymous
- Anonymous
Alfred wheel, Alfred deal -- ngyeah... nyeahaha... NGYEAH HA HA HA HAAAA!
- Anonymous
Anyone else notice how oddly your character's wrist bends when you do an un-transformed r1?
- Anonymous
- Anonymous
La ruota di logarius è la mia arma preferita, per questo è l'arma MIGLIORE di bloodborne!!!
- Anonymous
- Anonymous
i dont get this thing from a design standpoint, who thought it was a good idea to weaponise a wheel, and who then decided the best way to do that was a large fat blunt cumbersome wagon wheel?
- Anonymous
- Anonymous
it's a torture instrument and a pretty fu*ked up thing in that genre. You'll have to break arms and legs to make it work in the first place of the victim. no wonder he was hiding it.
- Anonymous
Just picture a bunch of armor and bird helm wearing dudes with white mullets wielding rapier guns and blood katanas looking at these people with gold cone heads and fucking carriage wheels charging at them.
- Anonymous
74hjsy7a for the Lost Logarius Wheel does not lead to a wheel. It leads to the communion rune.
- Anonymous
a488y5cv
This is the chalice dungeon I made. It is a sinister chalice, but you can get the Lost Logarius Wheel pre-main area. Warning: the room has two madmen, but they are manageable. Fast and hopefully easy.
- Anonymous
I've found the transformed quickstep R1s to be particularly useful, especially when fighting fast bosses that don't give many chances to attack with the wheel's slower attacks.
- Anonymous
- Anonymous
+50 Arcane Scaling Cold Blood gemstone with 30 Arcane and 50 STR is giving me S scaling in STR and ARC and ~1000 damage transformed R1's on some enemies...ridiculous.
- Anonymous
- Anonymous
- Anonymous
Thanks for the guide I couldn't find this weapon for such a long time
- Anonymous
Incredibly powerful with 50 strength and 50 arcane and good nourishing gems and the l2s this weapon has the highest damage potential in the game without the use of beastblood pellets so amazing
- Anonymous
Sinister Pthumeru Ihyll Root Chalice: Glyphs: rra4n2eq on Layer 3 Logarius' Lost Wheel at pre-boss side area !!!
- Anonymous
DO NOT kill Alfred, the first time you meet him, to get this wheel. You will be surely sorry...
- Anonymous
I knock them down with R2, can't damage them until they get up. GG FromSoft.
- Anonymous
- Anonymous
I really like its moveset but i'm doing an ARC build sooo is it still a good choice?
- Anonymous
Does anyone know the DPS it does to you when you charge it. I want to know all three stages.
- Anonymous
- Anonymous
It seems to me that the wheel is primarily a strength weapon with the transform mode being there for ripping through enemies with either high physical defense or low arcane defense.
- Anonymous
I have seen this weapon online; the transformed Wheel can be charged by draining your character's HP in exchange for hefty damage.
- Anonymous
Im able to buff it 4 times. I physically measured my health bar on my tv. Tried this out for about an hour. So im dediting the wiki to say 4 buffs max. Unless someone wants to show me why Im wrong thinking its 4, let me know here.
- Anonymous
I have the uncanny version +8 and when I use the L1 charge the wheel deals less damage, even when using L2. Do I need more Arc for it? I only have 10 and strenght 32
- Anonymous
- Anonymous
- Anonymous
- Anonymous
Anyone got an idea of the AR buff this weapons l2 stance gets at 50 Arc?
- Anonymous
The Executioners have some very strong connection to wrathful spirits. Virtually EVERYTHING connected to them in name or tool is haunted and not in a good way. I'm guessing these spirits are drawn to executioners due to their hate filled crusade and even go so far as to consume them. Just a speculation on my part.
- Anonymous
It is a fairly interesting weapon with unique scaling and movesets, but it doesn't change the fact that you'received running around with a giant freaking wheel
- Anonymous
Is the damage output decent at 25 strength/25 arcane, or should I go higher?
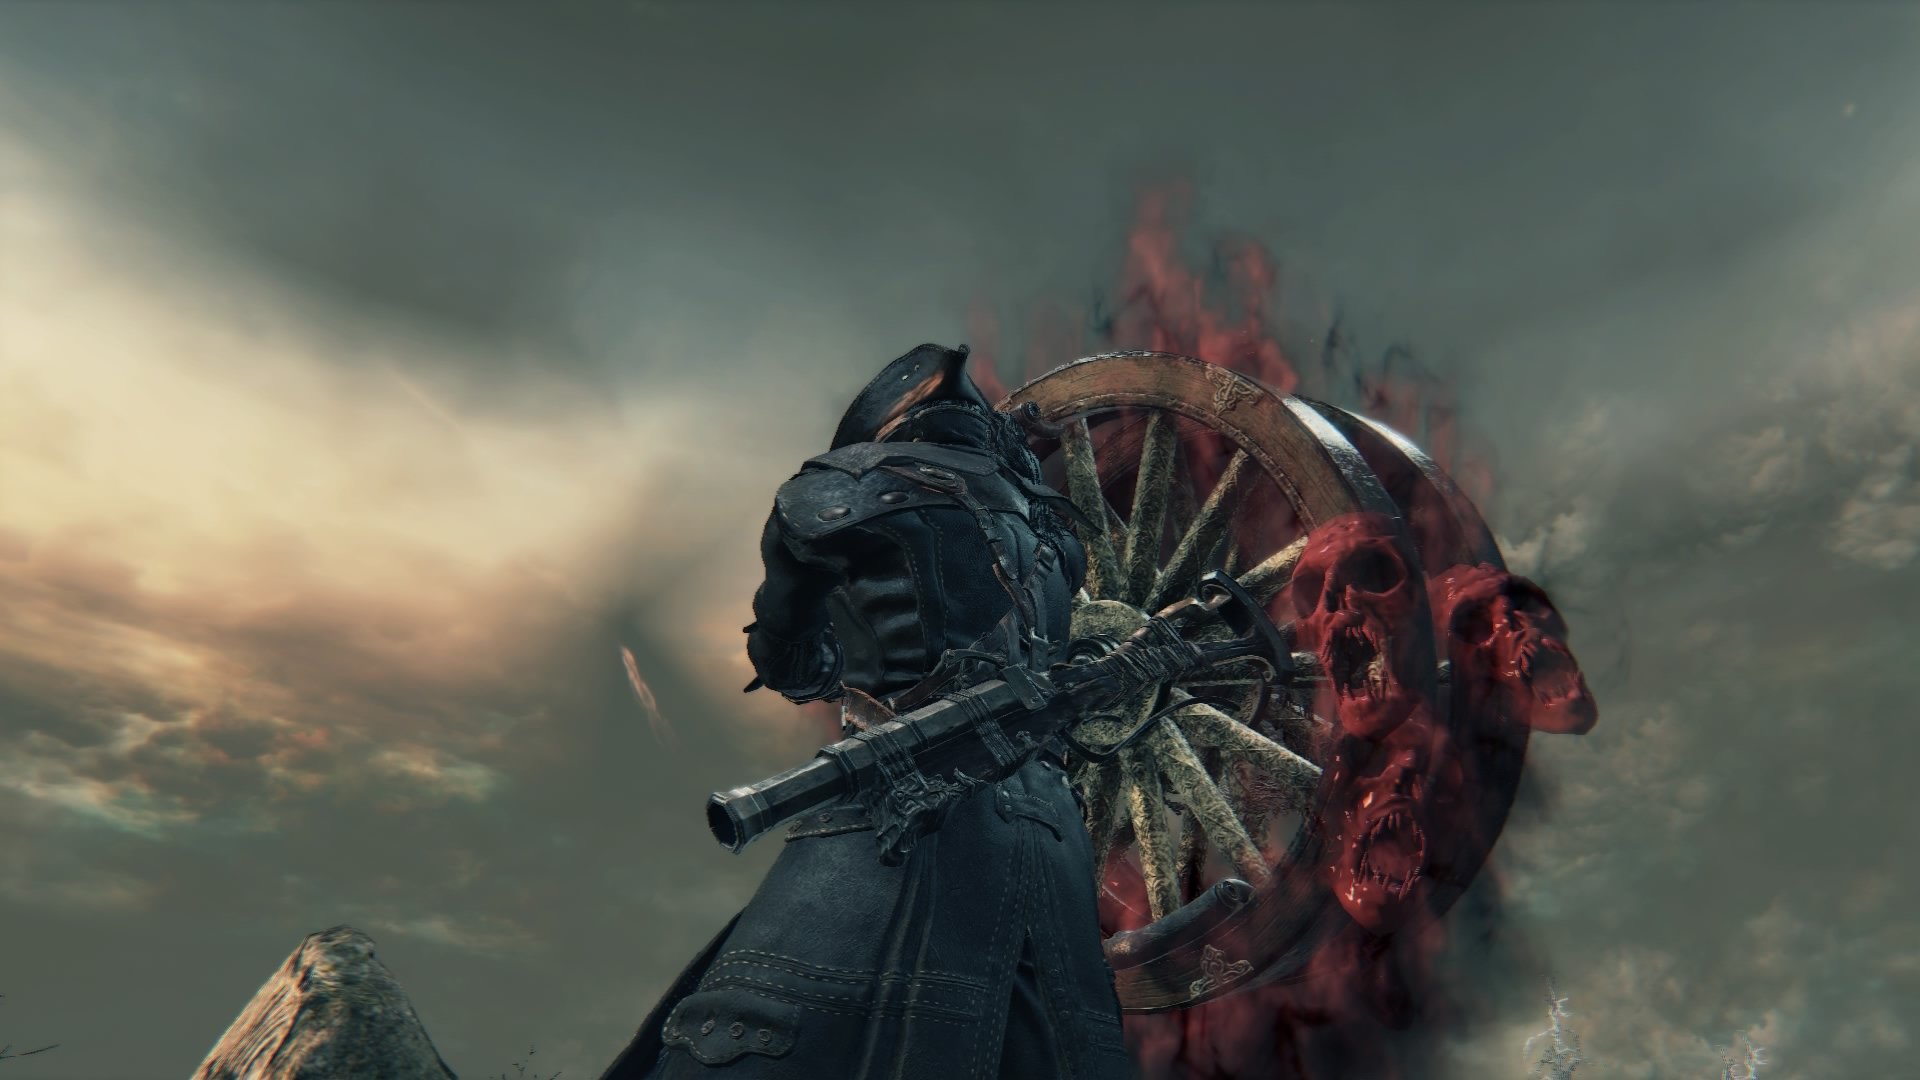
I found a hunter, butt naked, with a executioner helmet, a Logarius wheel, and a cannon
- Anonymous
there is only one pre-area in each layer of this glyph after first lamp or before boss first layer pre area after first lamp contain lost wheel second layer pre area before boss contain oeden writhe +3 third layer I don‘t know what‘s contain because I got great one‘s wisdom but it was hard to reach that treasure coffin so I think there is something really useful up there ( re - if u find rune or something in third layer ) foetid rotted cursed pthumeru Ihyll glyph 65bgd3rg
- Anonymous
i don't have that much arcane (like 49) and a *****load of str plus phys gems and I still deal around 1000 per r2 on trick with p4 buff. Is that low?
- Anonymous


press F to pay respects to another really great weapon we'll never see again in another fromsoft game.
19
+10
-1