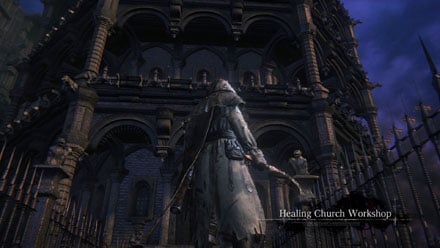
The Healing Church Workshop is located at the Cathedral Ward lantern through the right door, unlocked after killing Blood-Starved Beast. The tower is split into two sections, upper and lower. Once crossing the initial bridge and reaching the tower itself, going in the immediate doorway will lead you upstairs, to Upper Cathedral Ward, while taking a right and dropping down will take you to Old Yharnam. There is another door that leads to Abandoned Old Workshop, located in the lower section.
General Information
- Previous: Old Yharnham, Cathedral Ward
- Next: Abandoned Old Workshop
- Suggested Level: N/A
- Suggested Upgrade: N/A
- Bosses: N/A
- Lamps: N/A
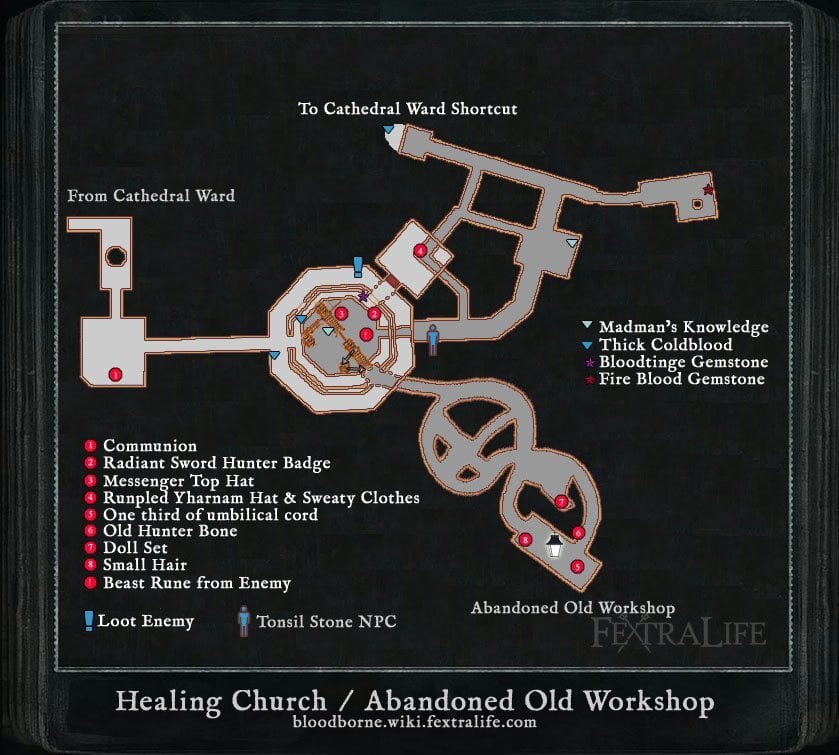
Healing Church Workshop Map
NPCs in the area
- None
Bosses
- None
Items
Weapons
Consumables
Specials
- Communion Rune
- Beast Rune
- Formless Oedon
- Radiant Sword Hunter Badge
- Shabby Set
- Messenger Top Hat
- Messenger Urn Festival
- Thick Coldblood (6)
- Madman's Knowledge
Enemies
- Huntsman's Minion (Brick)
- Hunstman (Rifle, Torch & Axe, Torch & Shield, Sickle, Cutlass, Pitchfork)
- Rabid Dog
- Carrion Crow
- Wheelchair Hunstman (Gatling Gun, Rifle, Flamesprayer)
- Wandering Nightmare(Wandering Madness)
- Beast-Possessed Soul
- Kidnapper(Snatcher)
- Brainsucker
Lore Notes
Healing Church Workshop Walkthrough
Where it began
From the lamp in Cathedral Ward head right to the door that was locked before you took on the Blood-starved Beast which will now be open. Inside the room there is a lift which will take you up to the next floor. As soon as you hop on, turn 180 degrees and jump out the window while the lift is still ascending, and you should end up outside on some roofings. Turn left and follow the path until you can drop onto a small balcony. Head inside to open the chest for a Formless Oedon, and pick up the Messenger Urn Festival before dropping back down and taking the lift again but to the top. As you come in the room, a Wheelchair Huntsman will spray his gatling gun at you -shouldn't be too hard to deal with as long as you rush him and avoid the gunfire. On the far side of the room, find a chest containing the Communion Rune (you'll also get a trophy, should this be the first rune you've picked up).
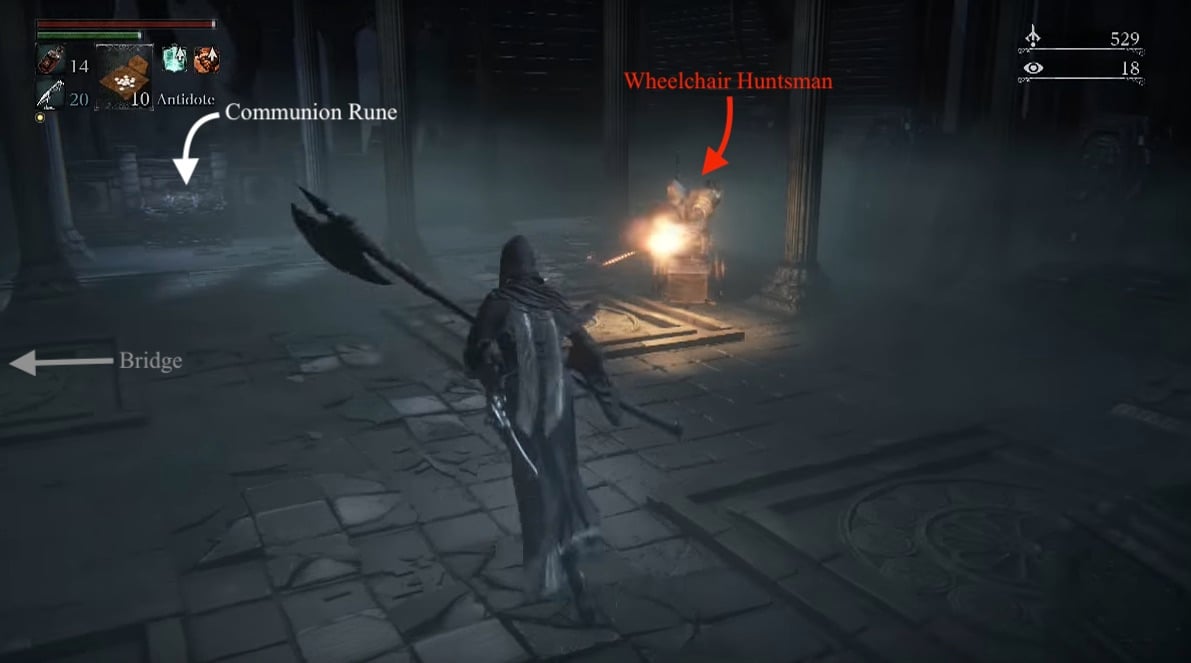
Head towards the door out of the room but be prepared to backtrack; as soon as you get on the bridge, a sword wielding Huntsman will chase you down, but more importantly a pair of Eppo will start firing. Avoid getting sniped by luring the Huntsmen into the room you've just exited, then sprint across the bridge into the open room. Be ready for a fight as you'll find six Huntsman enemies, stood in pairs, that need dispatching -1 wooden shield-wielding , 1 sword-wielding, 2 hatchet-wielding, 2 torch & axe-wielding. They have more HP than the ones you would find in Central Yharnam so they'll require a few extra hits. There is a chest in the room with a Bloodtinge Gemstone in, ensure you pick it up.
Head up the stairs and you'll find another Wheelchair Huntsman and a Huntsman. As soon as they're both taken care of, a Brick Troll will walk into the room and engage you. Again, this one has more HP than his Central Yharnam counterparts, but isn't a much bigger challenge. Once that is sorted, head out onto the ledge. Be careful here, on the left you'll find the Rifle Huntsman who were taking potshots at you earlier. They may be able to knock you off the side of the building, if they connect with their shot, so the best advice is to rush the first then retreat to cover. Once the second shoots his shot, rush him as well.
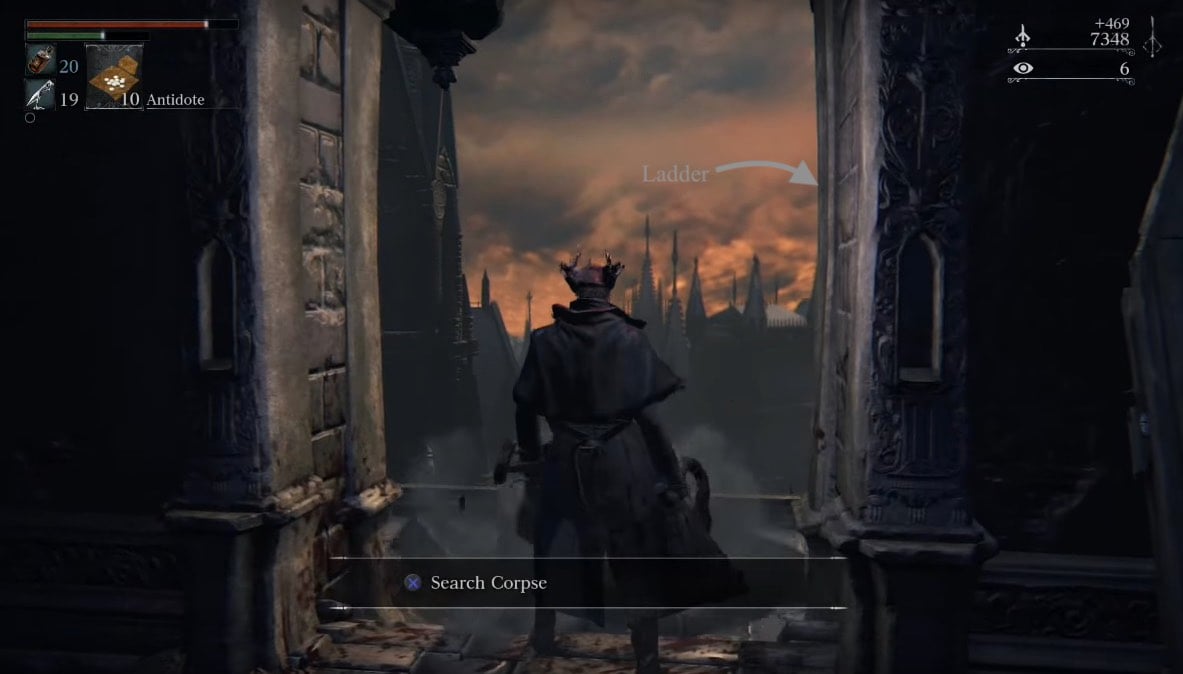
Once the ledge is clear, carry on round to the right and climb up the ladder. From the ladder head left and enter the room to find yet another iconic pairing of the Wheelchair Huntsman & his fully capable Huntsman friend. But they're not alone, as from the far room will emerge another Wheelchair Warrior with a flamethrower. Needless to say, you want to avoid getting hit so make sure to stay mobile and get in for the kill quickly. Once the area is clear, be sure to open the chest near the hallway in the back of the room for the Radiant Sword Hunter Badge - even though it's right beside the doorway, it can be easily overlooked and mistaken for yet another coffin lining the walls of the Healing Church Workshop. The door at the end of the corridor near the chest leads to Upper Cathedral Ward, but chances are you don't have the Upper Cathedral Key yet -don't worry, we'll let you know as soon as you can return here.
In Too Deep
For now, head back down the tower back to the level with the bridge on. When you come out in front of the bridge turn left (facing the building) and drop down the gap in the floor -you may notice the Wandering Madness running to the same ledge you're dropping off of, except it won't jump, instead it will stop right before to trick you into falling down before killing it. Follow the path round and you'll find yourself in a long, dark shaft with a lot of criss-crossing gantries and beams. We're heading down. How you make your way down is up to you, just try to make it in one piece. You'll be able to see a door halfway down which leads to the Abandoned Old Workshop, which once again, we will be revisiting later.
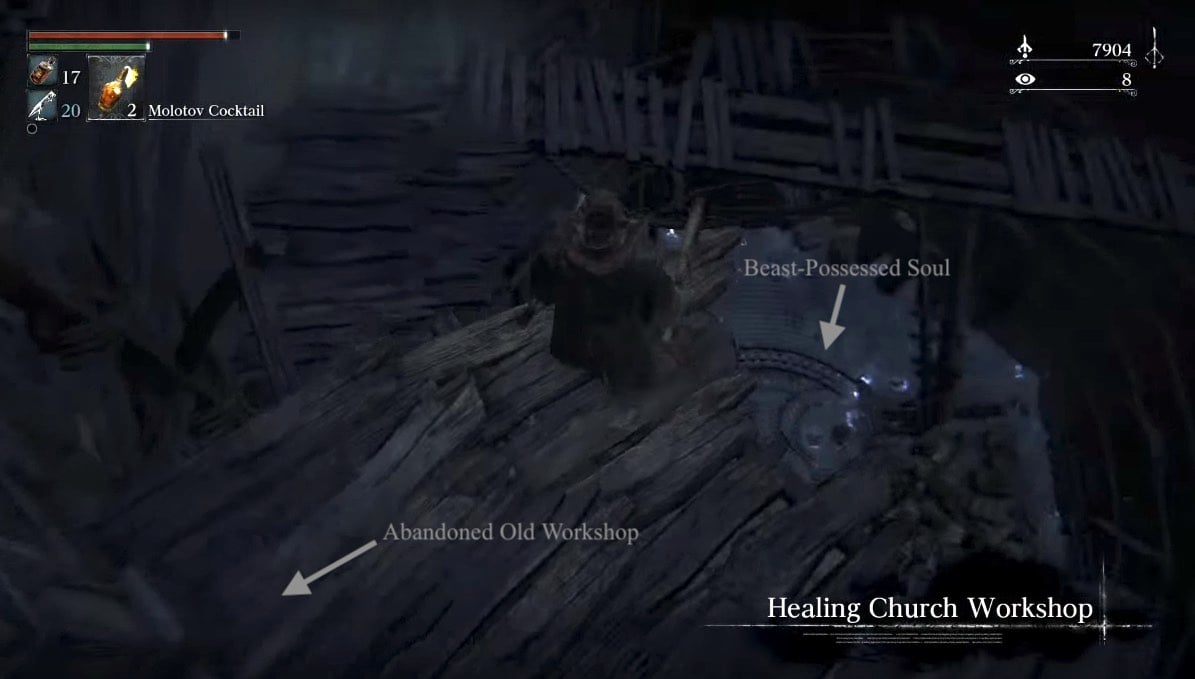
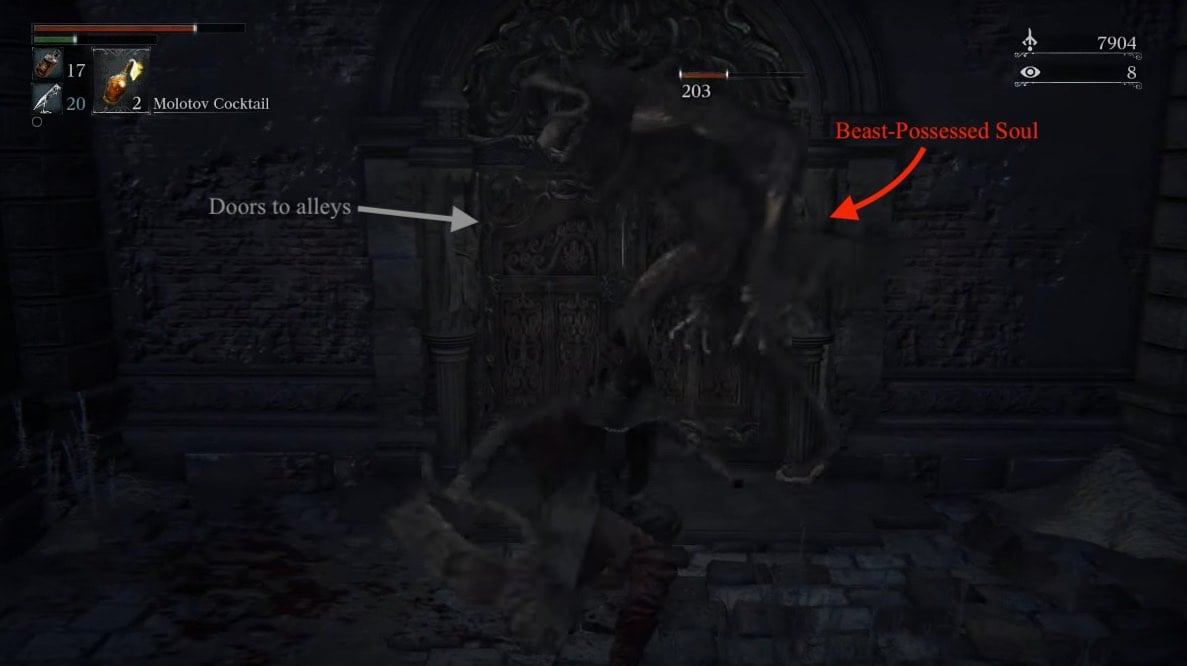
When you've worked your way to the bottom, you'll be appropriately greeted by a new enemy; the Beast-Possessed Soul is stronger than the Scourge Beast that we've already encountered, stands upright, and is able to use Arcane abilities. If you're at a distance then he'll launch fireballs at you, and if you think it gets easier when you close down the space, think again, as he's capable of unleashing devastating melee attacks. Your best approach is stealth; land visceral attacks on him after staggering him with charge attack, and in the unfortunate event that you are spotted, stay mobile and prioritize not taking damage while trying to defeat him. Once he is down, you'll get the Beast Rune for your troubles. There's nothing else to do here so open the doors that the beast was stood in front of.
You'll find yourself out, in what appears to be Central Yharnam. You're shown signs of non-beast life with dialogue from a house on your immediate right as you come into the area (the said inhabitant inside the house is also known for being the only non-rescuable Yharnamite who stays alive even after the Blood Moon hung low, should you missed out Patches encounter, he would appear in this house). Follow the street forward to a small square and a patrol of two pitchfork wielding enemies and a Rabid Dog will come into view. Deal with them quickly, as not far behind lurks a Snatcher. These guys are very tough, so unless you want to visit Hypogean Gaol at this point, it's recommended that you run away. If you head back to where you came from there will be a side alley you can duck into. In the alley is the Rumpled Yharnam Hat and Sweaty Clothes, though you might want to deal with the Carrion Crows around the corner first.
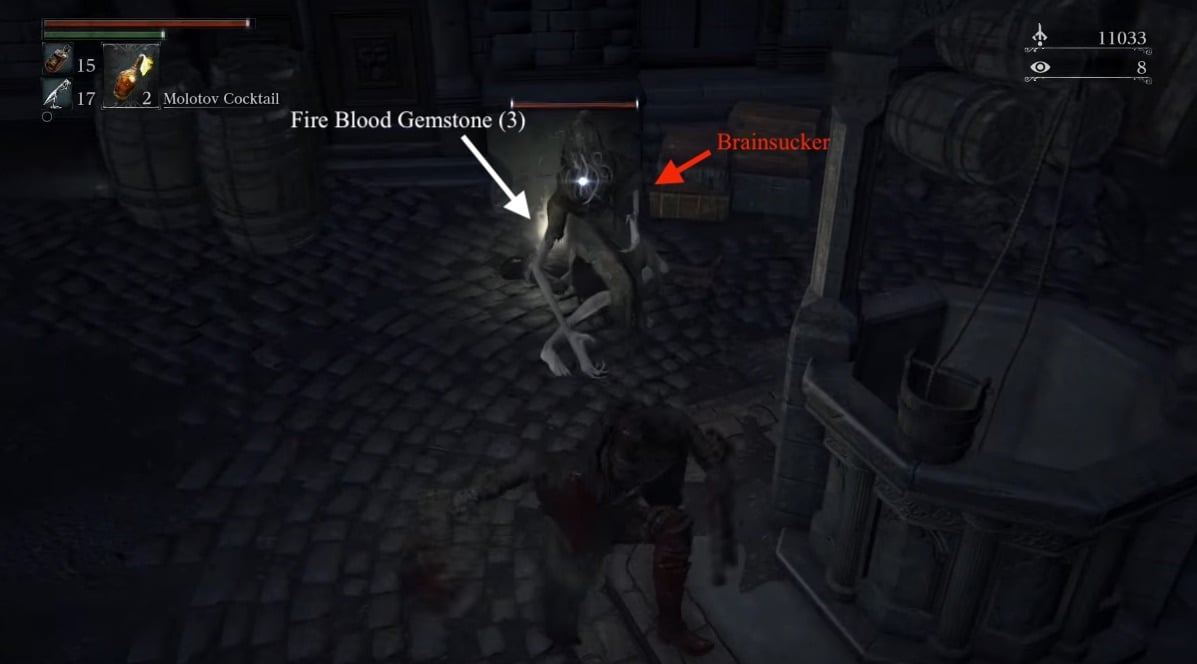
Carry on down the alley and there should be a Rapid Dog barking at you. Then, head back out to the street and kill the two enemies that were accompanying it. From the alleyway you were in, if you go right and follow the street you'll go down a set of steps into another open area and find a Brainsucker eating a corpse. KILL IT. It has Arcane powers and can trap you in a field of energy. If it grabs you, which it can easily do once trapped, it's head will extend to suck your brains out, removing two of your Insight, and heavily damaging you. It has a surprisingly strong physical defense so I would suggest you try Arcane or fire attacks on it; they are also pretty much defenseless against thrust attacks.
Once the Brainsucker is dead, pick up backtrack along the street and you'll find an elevator which will take you up and return you to Cathedral Ward at the gate just beyond the Tomb Of Oedon. You can now operate the lever and open the gate giving you a shortcut back to the Tomb and the Lamp.
Healing Church Workshop Maps
 Anonymous
"Tonsil Stone NPC" is misleading. After entering Forbidden Woods for the first time, you can get the Tonsil Stone from ANY red lantern NPC in the game as long as the building is still occupied -- the dialog of the building changes for the event, then goes back to normal for that building on return visits. Check Tonsil Stone page for more info.

 Anonymous
God the tower is horrible. There isn’t a single fun parkour segment in any Soulsborne

 Anonymous
 Anonymous
Getting down this tower is even worse than the Anor Londo archers. Complete crap

 Anonymous
uhhh the dream is already on fire how tf do i get in if gherman is the one who gives you the key

 Anonymous
how do u open the locked door at the very top though where there are two wheelchair huntsmen and a sword huntsman

 Anonymous
 Anonymous
Wiki page says Multiplayer is available here... How?? My bell icon is greyed out and won't work. I need help getting thru this part.

 Anonymous
 Anonymous
 Anonymous
You guys should probably mention that halfway up the Cathedral Ward elevator there's a doorway you can slip through that contains a chest with Formless Oedon +4 and a nearby corpse with the Messenger Urn Festival key item.

 Anonymous
thank you i can completely annihilate all the bosses in bloodborne and stay a step ahead of the enemies thanks to this website

 Anonymous
 Anonymous
Taking a right after the bridge doesn't take you to Old Yharnam...

 Anonymous
 Anonymous
This area is a good place to stock up on QS bullets. All you have to do is teleport to the Cathederal Ward lamp, use the elevator, and make your way up, killing all of the enemies along the way. Once you get to the top, I just jump off to reset. You could use a Bold Hunter's Mask if you wanted, but you can easily retrieve your echoes. I usually get around 16-20 QS bullets per run, due to the sheer amount of gun using enemies. Hope this helps!


I love this area because it's the first little peak at the Truth, which is aliens, in the game.
0
+10
-1